如何更改 seaborn 中的背景颜色
您可以使用以下基本语法来更改 Python 中 Seaborn 绘图的背景颜色:
sns. set (rc={' axes.facecolor':'lightblue ', ' figure.facecolor':'lightgreen '})
以下示例展示了如何在实践中使用此语法。
示例:更改 Seaborn 中的背景颜色
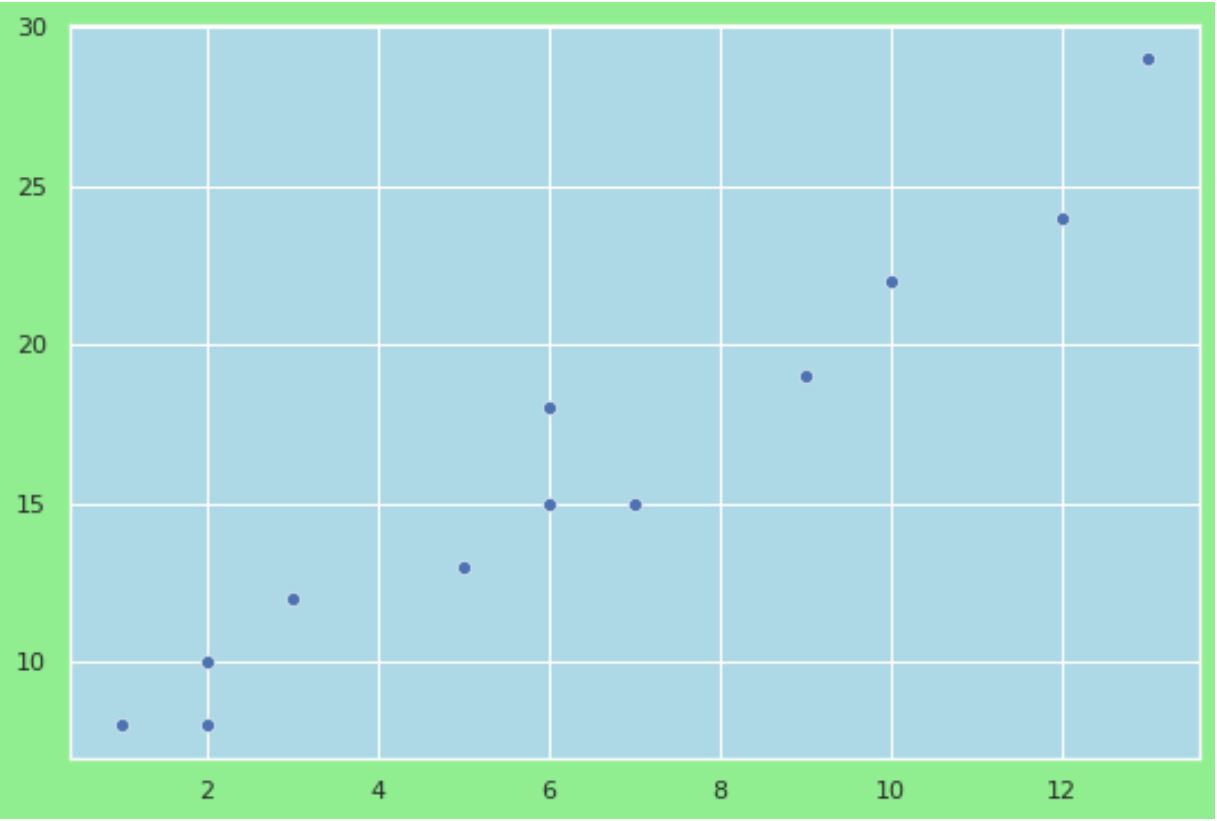
以下代码展示了如何在 Seaborn 中创建点云,其中图内背景为浅蓝色,图外背景为浅绿色:
 import seaborn as sns
import matplotlib. pyplot as plt

#define data
x = [1, 2, 2, 3, 5, 6, 6, 7, 9, 10, 12, 13]
y = [8, 8, 10, 12, 13, 15, 18, 15, 19, 22, 24, 29]

#define seaborn background colors
sns. set (rc={' axes.facecolor':'lightblue ', ' figure.facecolor':'lightgreen '})

#create seaborn scatterplot
sns. scatterplot (x,y)

正如我们所指定的,路径内部的背景颜色是浅蓝色,路径外部的背景颜色是浅绿色。
在大多数情况下,更常见的是在路径内部和外部使用相同的颜色。
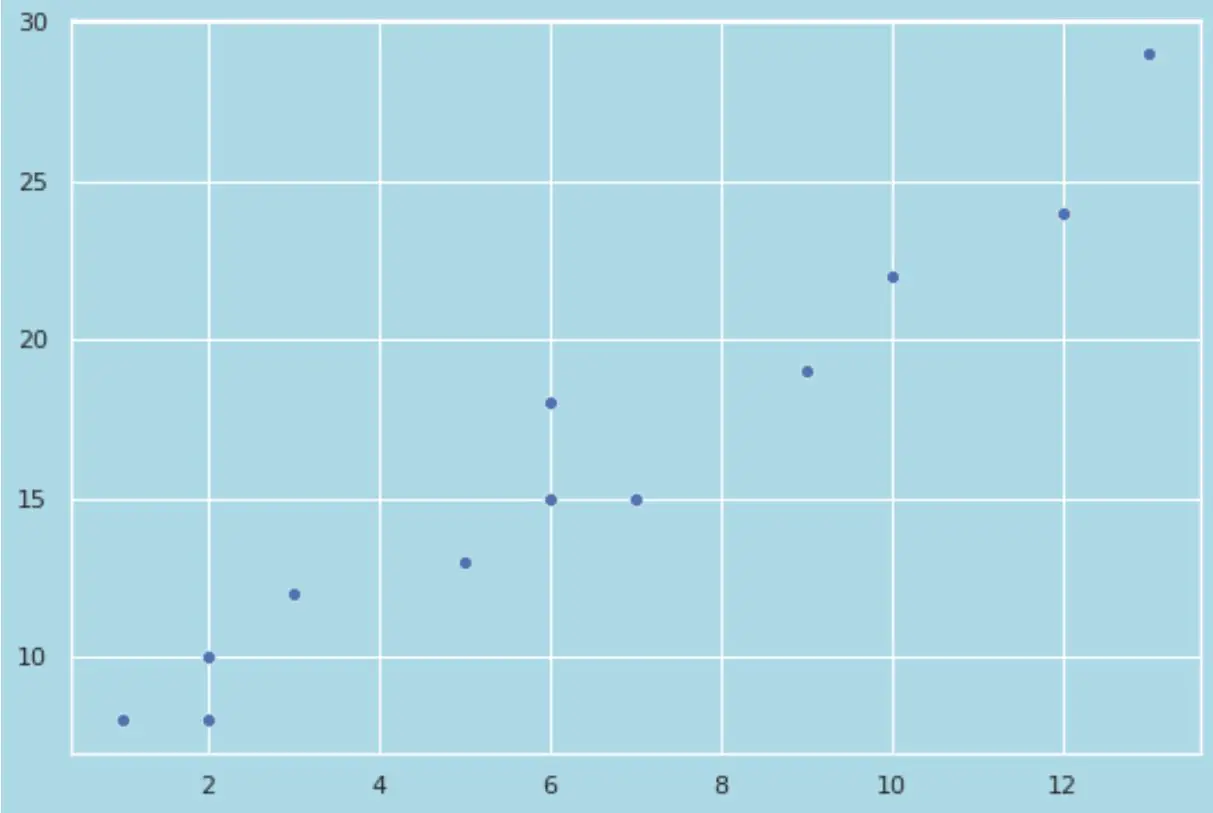
例如,我们可以使用下面的代码使路径内外的背景颜色为浅蓝色:
 import seaborn as sns
import matplotlib. pyplot as plt

#define data
x = [1, 2, 2, 3, 5, 6, 6, 7, 9, 10, 12, 13]
y = [8, 8, 10, 12, 13, 15, 18, 15, 19, 22, 24, 29]

#define seaborn background colors
sns. set (rc={' axes.facecolor':'lightblue ', ' figure.facecolor':'lightblue '})

#create seaborn scatterplot
sns. scatterplot (x,y)

请注意,我们还可以使用十六进制颜色代码来定义特定颜色。
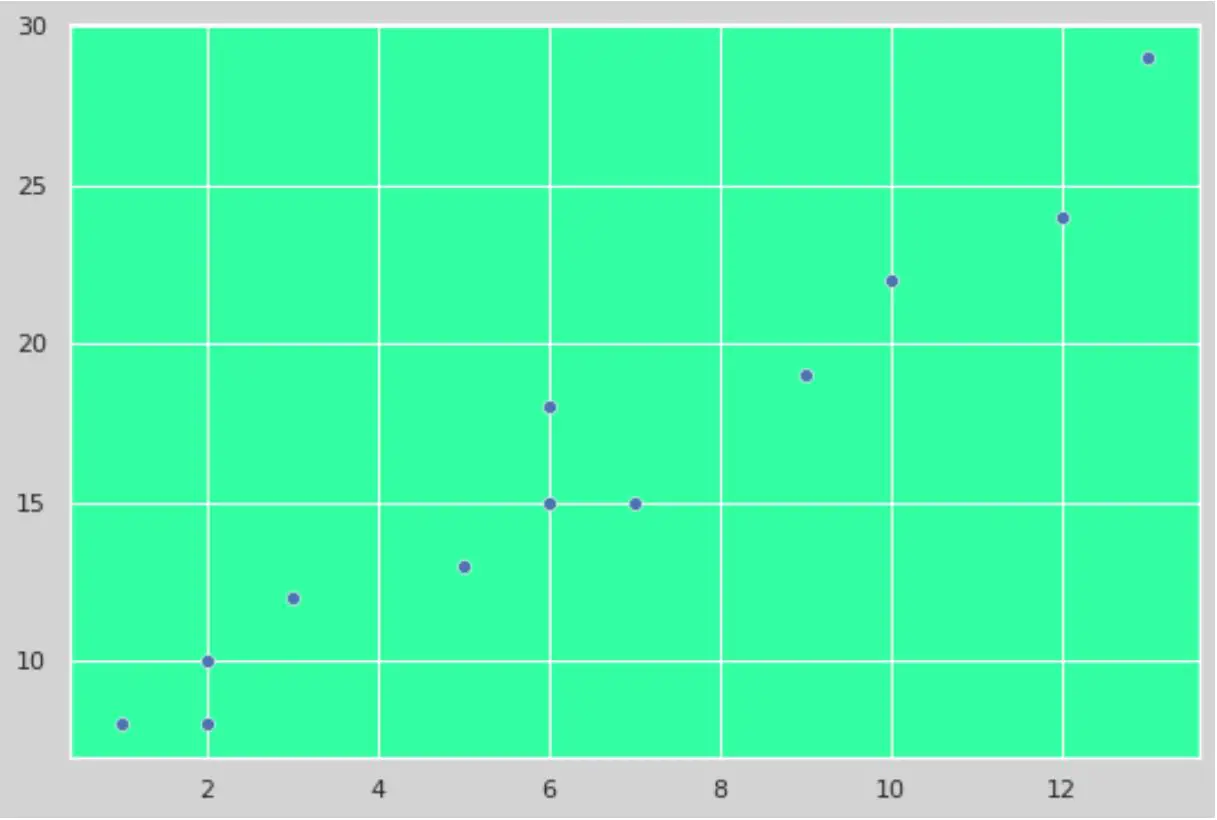
例如,我们可以使用以下代码指定#33FFA2作为图中的背景颜色:
 import seaborn as sns
import matplotlib. pyplot as plt

#define data
x = [1, 2, 2, 3, 5, 6, 6, 7, 9, 10, 12, 13]
y = [8, 8, 10, 12, 13, 15, 18, 15, 19, 22, 24, 29]

#define seaborn background colors
sns. set (rc={' axes.facecolor':'#33FFA2 ', ' figure.facecolor':'lightgrey '})

#create seaborn scatterplot
sns. scatterplot (x,y)

其他资源
以下教程介绍了如何在 Seaborn 中执行其他常见操作: