如何更改 seaborn 图上的轴标签(带有示例)
有两种方法可以修改海洋图上的轴标签。
第一种方法是使用ax.set()函数,该函数使用以下语法:
ax. set (xlabel=' x-axis label ', ylabel=' y-axis label ')
第二种方法是使用 matplotlib 函数,它使用以下语法:
 plt. xlabel (' x-axis label ')
plt. ylabel (' y-axis label ')
以下示例展示了如何在实践中使用每种方法。
方法 1:使用 ax.set() 更改轴标签
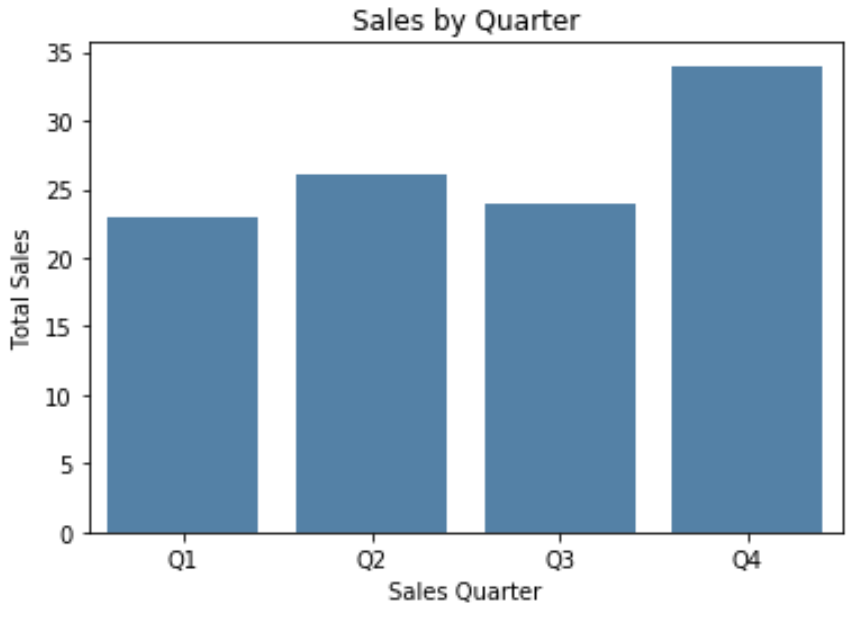
以下代码展示了如何创建 Seaborn 条形图并使用ax.set()指定轴标签:
 import pandas as pd
import seaborn as sns
import matplotlib. pyplot as plt

#create some fake data
df = pd. DataFrame ({' quarter ': ['Q1', 'Q2', 'Q3', 'Q4'],
                   ' sales ': [23, 26, 24, 34]})

#create seaborn barplot
ax = sns. barplot (x=' quarter ', y=' sales ',
                 data = df,
                 color=' steelblue ')

#specfiy axis labels
ax. set (xlabel=' Sales Quarter ',
       ylabel=' Total Sales ',
       title=' Sales by Quarter ')

#display barplot
plt. show ()

方法 2:使用 Matplotlib 函数更改轴标签
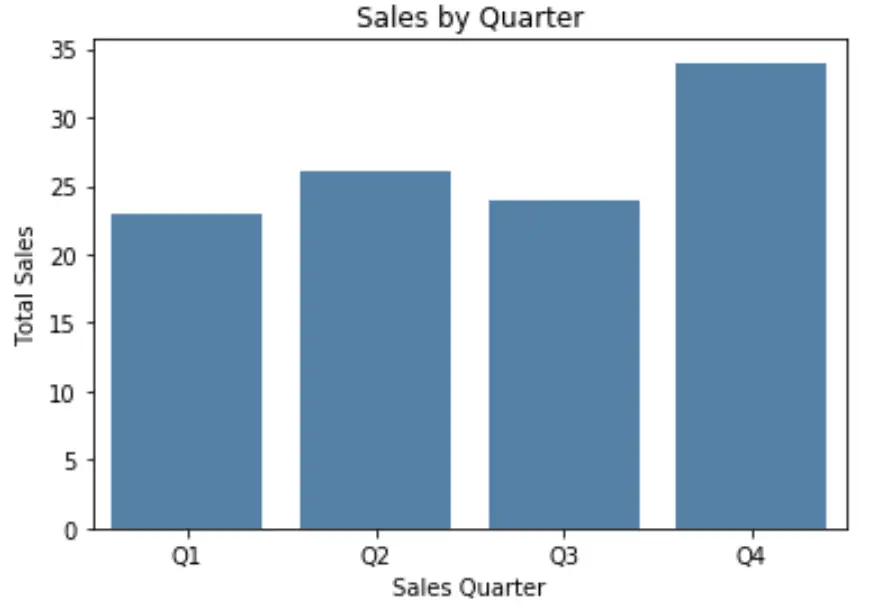
以下代码展示了如何创建 Seaborn 条形图并使用 matplotlib 函数指定轴标签:
 import pandas as pd
import seaborn as sns
import matplotlib. pyplot as plt

#create some fake data
df = pd. DataFrame ({' quarter ': ['Q1', 'Q2', 'Q3', 'Q4'],
                   ' sales ': [23, 26, 24, 34]})

#create seaborn barplot
ax = sns. barplot (x=' quarter ', y=' sales ',
                 data = df,
                 color=' steelblue ')

#specify axis labels
plt. xlabel (' Sales Quarter ')
plt. ylabel (' Total Sales ')
plt. title (' Sales by Quarter ')

#display barplot
plt. show ()

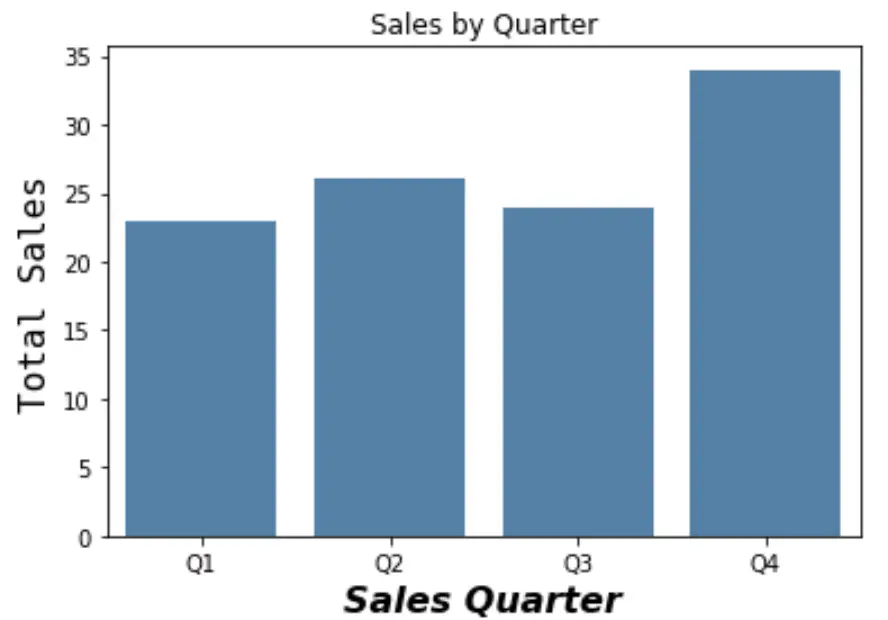
请注意,您还可以使用此方法指定字体大小、字体样式、字体系列和其他字体功能:
 #specify axis labels
plt. xlabel (' Sales Quarter ', size= 16 , fontstyle=' italic ', weight= 900 )
plt. ylabel (' Total Sales ', size= 16 , family=' minivan ')
plt. title (' Sales by Quarter ')

#display barplot
plt. show ()

有关自定义轴标签上字体的方法的完整列表,请参阅matplotlib 文档。