Matplotlib में tight_layout() का उपयोग कैसे करें
आप सबप्लॉट के बीच और उसके आस-पास पैडिंग को स्वचालित रूप से समायोजित करने के लिए Matplotlib में Tight_layout() फ़ंक्शन का उपयोग कर सकते हैं।
निम्नलिखित उदाहरण दिखाता है कि व्यवहार में इस फ़ंक्शन का उपयोग कैसे करें।
उदाहरण: Matplotlib में Tight_layout() का उपयोग कैसे करें
मान लीजिए कि हम 2×2 ग्रिड में चार सबप्लॉट बनाने के लिए Matplotilb का उपयोग करते हैं:
 import matplotlib. pyplot as plt

#define data
x = [1, 2, 3]
y = [7, 13, 24]

#define layout for subplots
fig, ax = plt. subplots (2, 2)

#define subplot titles
ax[0, 0]. plot (x,y,color=' red ')
ax[0, 1]. plot (x,y,color=' blue ')
ax[1, 0]. plot (x,y,color=' green ')
ax[1, 1]. plot (x,y,color=' purple ')

#add title to each subplot
ax[0, 0]. set_title (' First Subplot ')
ax[0, 1]. set_title (' Second Subplot ')
ax[1, 0]. set_title (' Third Subplot ')
ax[1, 1]. set_title (' Fourth Subplot ')
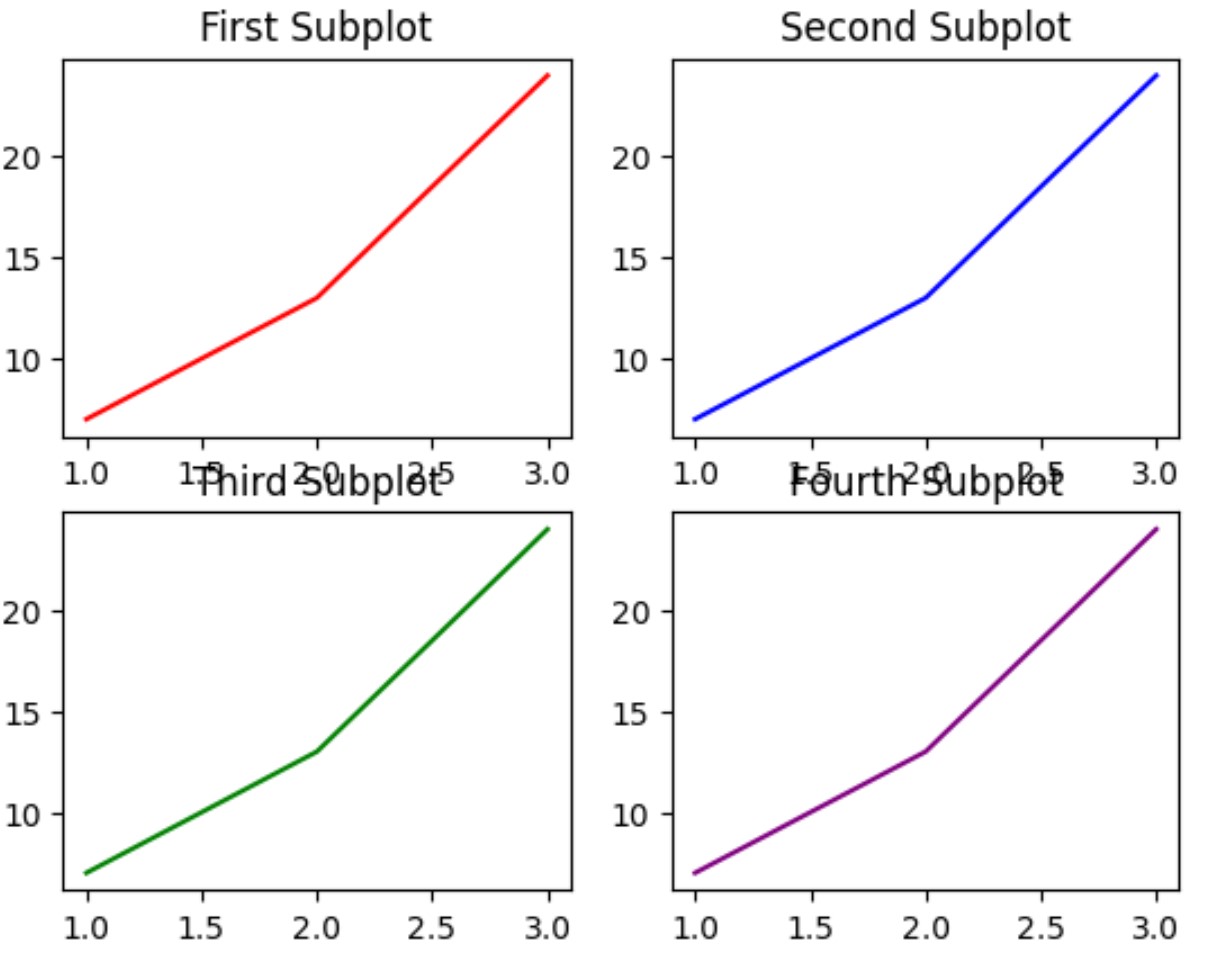
ध्यान दें कि सबप्लॉट्स के बीच न्यूनतम पैडिंग है, जिसके परिणामस्वरूप कुछ स्थानों पर शीर्षक ओवरलैप हो जाते हैं।
अंजीर.टाइट_लेआउट() को निर्दिष्ट करके हम सबप्लॉट्स के बीच और उसके आसपास पैडिंग को स्वचालित रूप से समायोजित कर सकते हैं:
 import matplotlib. pyplot as plt

#define data
x = [1, 2, 3]
y = [7, 13, 24]

#define layout for subplots
fig, ax = plt. subplots (2, 2)

#specify a tight layout
fig. tight_layout ()

#define subplot titles
ax[0, 0]. plot (x,y,color=' red ')
ax[0, 1]. plot (x,y,color=' blue ')
ax[1, 0]. plot (x,y,color=' green ')
ax[1, 1]. plot (x,y,color=' purple ')

#add title to each subplot
ax[0, 0]. set_title (' First Subplot ')
ax[0, 1]. set_title (' Second Subplot ')
ax[1, 0]. set_title (' Third Subplot ')
ax[1, 1]. set_title (' Fourth Subplot ')
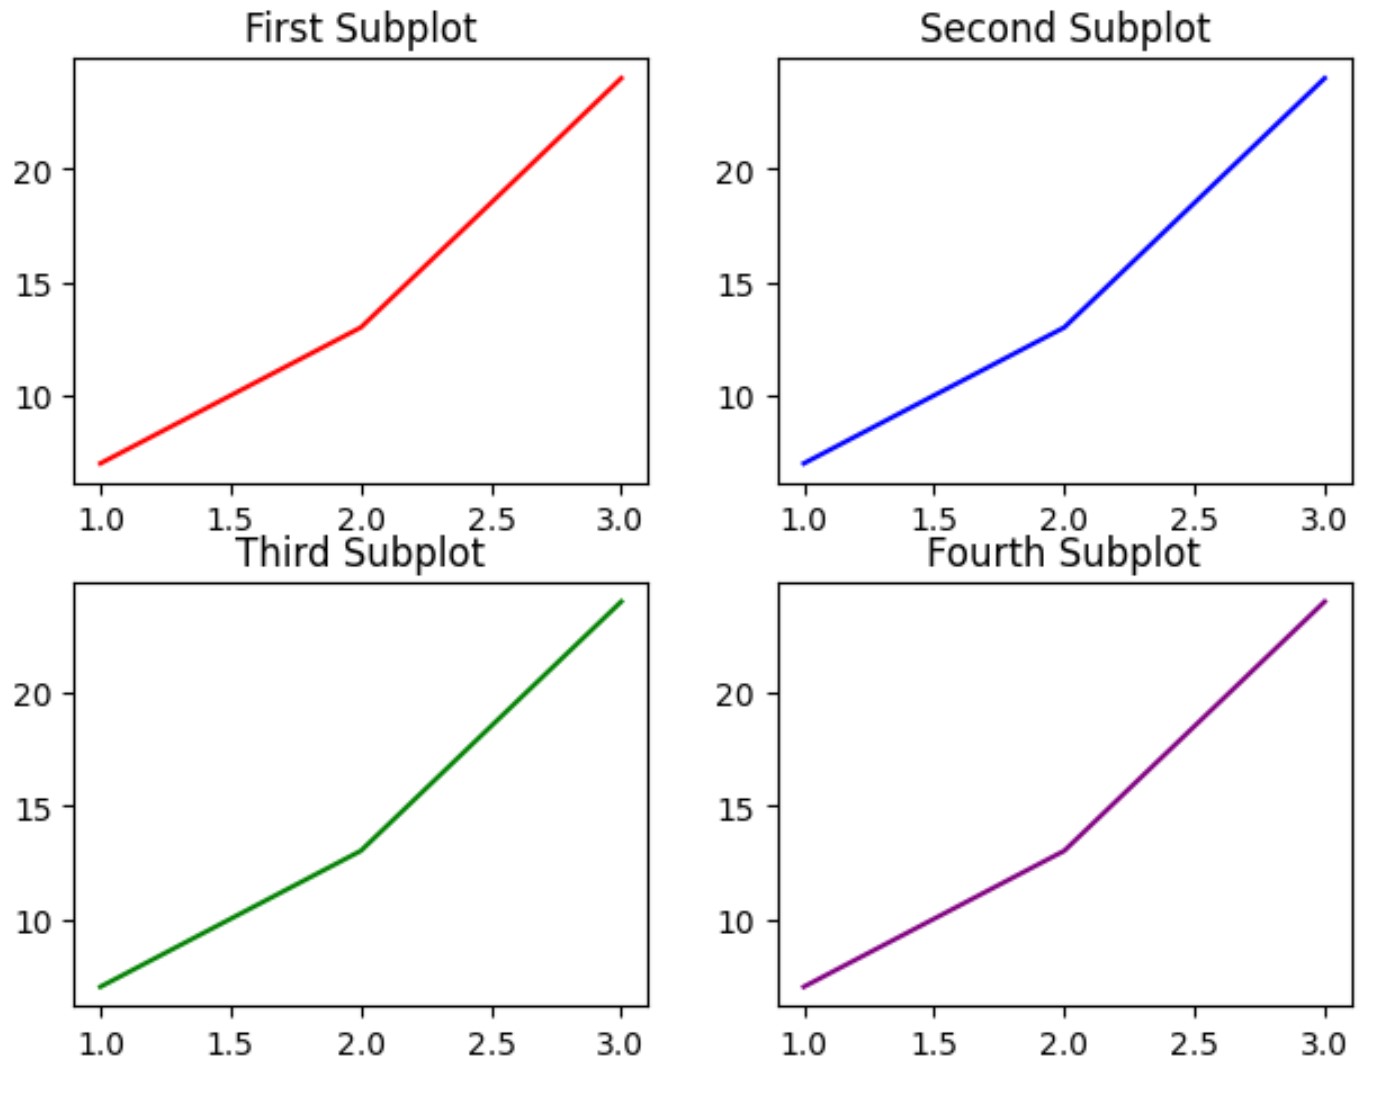
ध्यान दें कि सबप्लॉट के बीच और उसके आस-पास की पैडिंग को समायोजित कर दिया गया है ताकि प्लॉट अब किसी भी क्षेत्र में ओवरलैप न हों।
ध्यान दें कि Tight_layout() फ़ंक्शन फ़ॉन्ट आकार के एक अंश के रूप में, आकृति किनारे और उपपथ किनारों के बीच पैडिंग को निर्दिष्ट करने के लिए एक पैड तर्क लेता है।
डिफ़ॉल्ट पैड मान 1.08 है। हालाँकि, हम पथों के चारों ओर पैडिंग बढ़ाने के लिए इस मान को बढ़ा सकते हैं:
 import matplotlib. pyplot as plt

#define data
x = [1, 2, 3]
y = [7, 13, 24]

#define layout for subplots
fig, ax = plt. subplots (2, 2)

#specify a tight layout with increased padding
fig. tight_layout (pad=5)

#define subplot titles
ax[0, 0]. plot (x,y,color=' red ')
ax[0, 1]. plot (x,y,color=' blue ')
ax[1, 0]. plot (x,y,color=' green ')
ax[1, 1]. plot (x,y,color=' purple ')

#add title to each subplot
ax[0, 0]. set_title (' First Subplot ')
ax[0, 1]. set_title (' Second Subplot ')
ax[1, 0]. set_title (' Third Subplot ')
ax[1, 1]. set_title (' Fourth Subplot ')
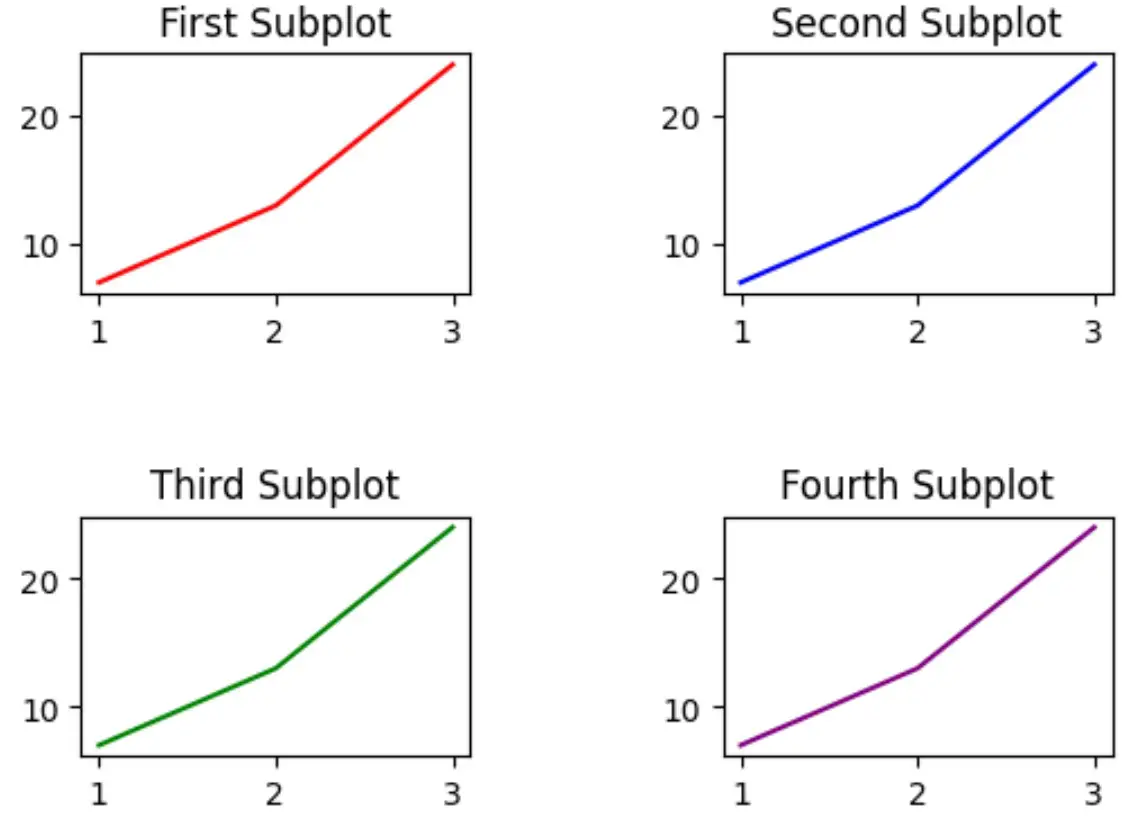
ध्यान दें कि भूखंडों के चारों ओर भराव काफ़ी बढ़ गया है।
पथों के चारों ओर पैडिंग को जितना चाहें उतना बढ़ाने के लिए पैड तर्क के मूल्य को समायोजित करने के लिए स्वतंत्र महसूस करें।
अतिरिक्त संसाधन
निम्नलिखित ट्यूटोरियल बताते हैं कि मैटप्लोटलिब में अन्य सामान्य कार्य कैसे करें:
Matplotlib में सबप्लॉट में शीर्षक कैसे जोड़ें
Matplotlib में सबप्लॉट आकार को कैसे समायोजित करें
मैटप्लोटलिब सबप्लॉट्स के बीच रिक्ति को कैसे समायोजित करें
लेखक के बारे में
डॉ. बेंजामिन एंडरसन
नमस्ते, मैं बेंजामिन हूं, एक सेवानिवृत्त सांख्यिकी प्रोफेसर जो अब समर्पित Statorials शिक्षक बन गया है। सांख्यिकी के क्षेत्र में व्यापक अनुभव और विशेषज्ञता के साथ, मैं Statorials के माध्यम से छात्रों को सशक्त बनाने के लिए अपना ज्ञान साझा करने के लिए उत्सुक हूं। अधिक जाने