ヒストグラムの図のサイズを変更する方法 pandas
figsize引数を使用して、pandas で作成されたヒストグラムの図のサイズを変更できます。
 import matplotlib. pyplot as plt

#specify figure size (width, height)
fig = plt. figure (figsize=(8,3))
ax = fig. gca ()

#create histogram using specified figure size
df[' my_column ']. hist (ax=ax)
次の例は、実際にfigsize引数を使用する方法を示しています。
例: パンダのヒストグラム図のサイズを変更する方法
次のパンダ データフレームがあるとします。
 import pandas as pd

#createDataFrame
df = pd. DataFrame ({' player ': ['A', 'B', 'C', 'D', 'E', 'F', 'G', 'H',
                              'I', 'J', 'K', 'L', 'M', 'N', 'O', 'P'],
                   ' points ': [10, 12, 14, 15, 15, 15, 16, 17,
                              19, 19, 24, 24, 28, 30, 34, 34]})

#view first five rows of DataFrame
print ( df.head ())

  player points
0 to 10
1 B 12
2 C 14
3 D 15
4 E 15
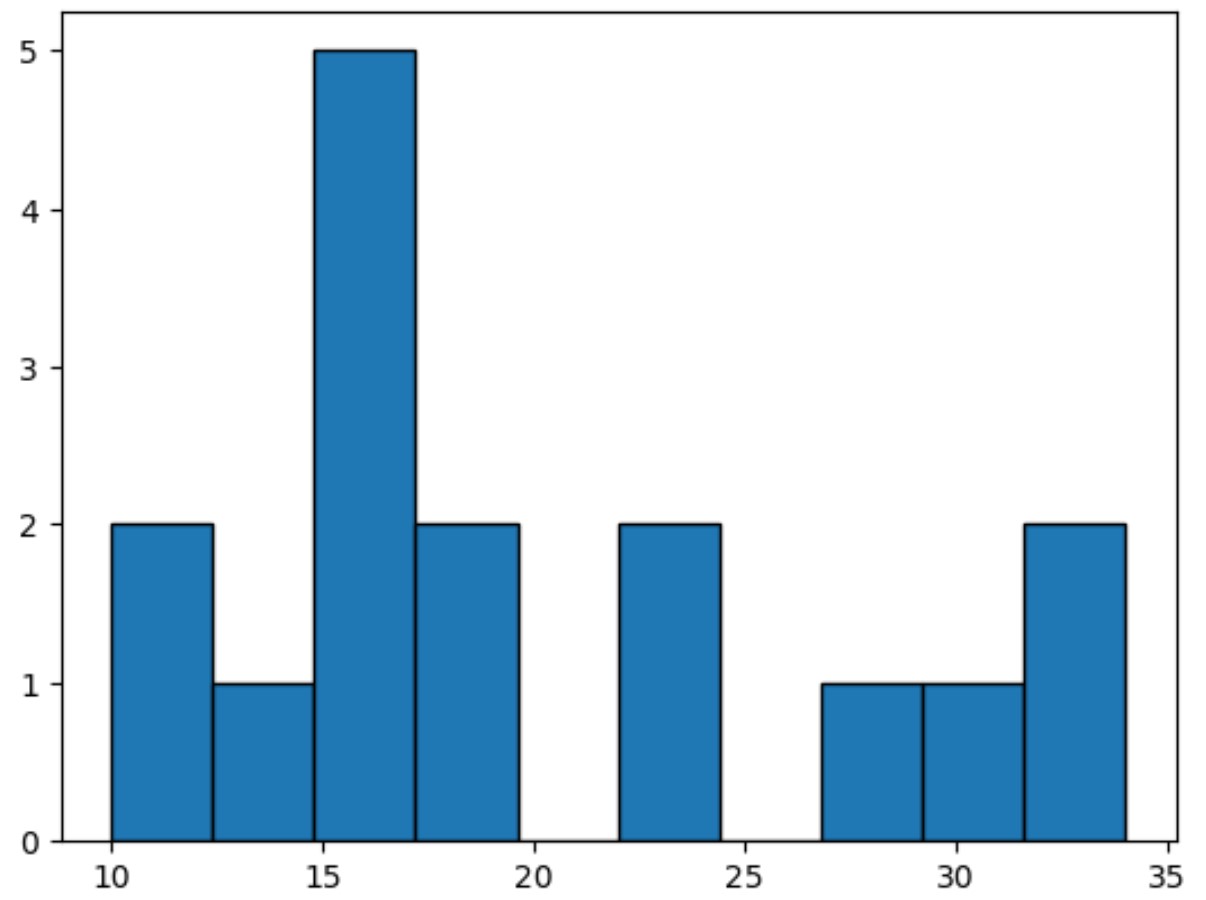
Points 変数のヒストグラムを作成すると、パンダは図の幅として6.4 、高さとして4.8を自動的に使用します。
 import matplotlib. pyplot as plt

#create histogram for variable points
df[' points ']. hist (grid= False ,edgecolor=' black ')

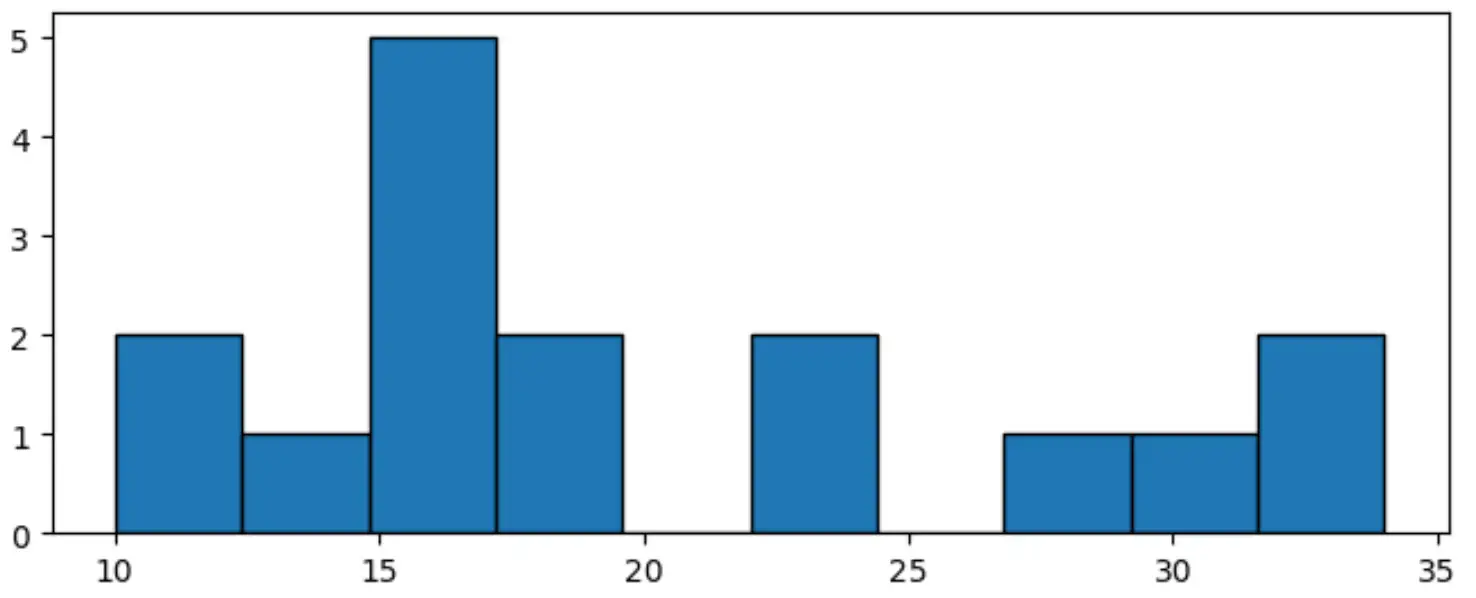
ただし、引数figsizeを使用して、Figure の幅と高さを変更できます。
 import matplotlib. pyplot as plt

#specify figure size (width, height)
fig = plt. figure (figsize=(8,3))
ax = fig. gca ()

#create histogram using specified figure size
df[' points ']. hist ( grid= False , edgecolor=' black ', ax=ax)

この特定のヒストグラムの幅は8 、高さは3です。
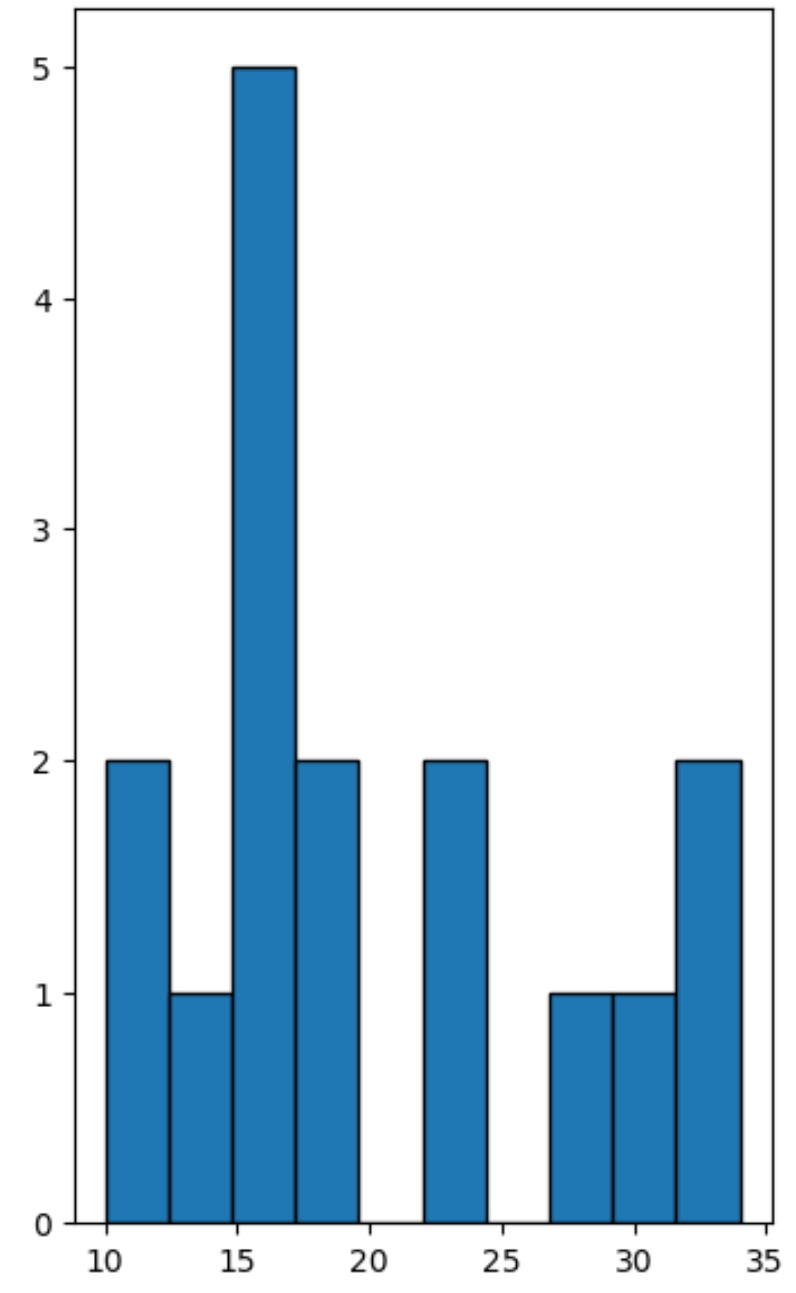
figsize引数を使用して、高さが幅よりも大きい Figure を作成することもできます。
 import matplotlib. pyplot as plt

#specify figure size (width, height)
fig = plt. figure (figsize=(4,7))
ax = fig. gca ()

#create histogram using specified figure size
df[' points ']. hist ( grid= False , edgecolor=' black ', ax=ax)

この特定のヒストグラムの幅は4 、高さは7です。
figsize引数の値を自由にいじって、必要な正確なサイズのヒストグラムを作成してください。
追加リソース
次のチュートリアルでは、パンダで他の一般的なタスクを実行する方法を説明します。
Pandas DataFrame からヒストグラムを作成する方法
Pandas シリーズからヒストグラムを作成する方法
Pandas でグループごとにヒストグラムをプロットする方法