Python でカイ二乗分布をプロットする方法
Python でカイ二乗分布をプロットするには、次の構文を使用できます。
 #x-axis ranges from 0 to 20 with .001 steps
x = np. arange (0, 20, 0.001)

#plot Chi-square distribution with 4 degrees of freedom
plt. plot (x, chi2. pdf (x, df= 4 ))
x配列は x 軸の範囲を定義し、 plt.plot() は指定された自由度でカイ二乗分布のプロットを生成します。
次の例は、これらの関数を実際に使用する方法を示しています。
例 1: 単一のカイ二乗分布のプロット
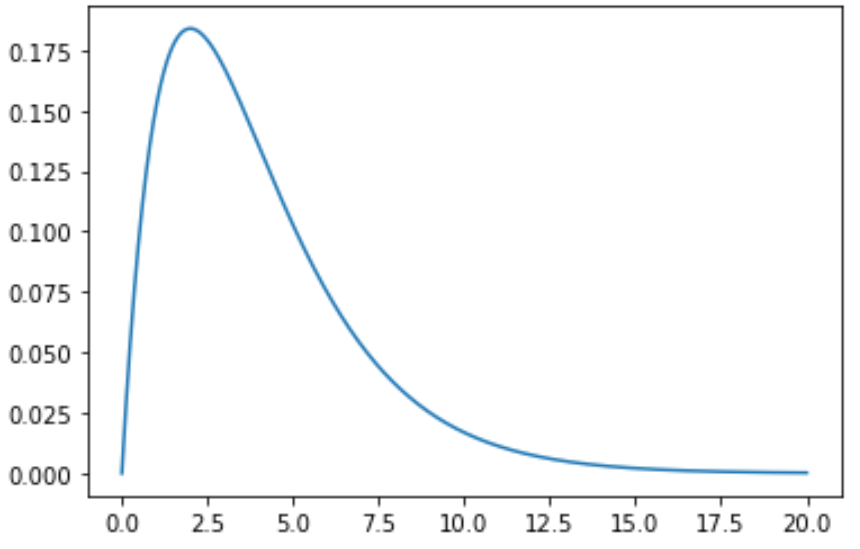
次のコードは、4 つの自由度を持つ単一のカイ二乗分布曲線をプロットする方法を示しています。
 import numpy as np
import matplotlib. pyplot as plt
from scipy. stats import chi2

#x-axis ranges from 0 to 20 with .001 steps
x = np. arange (0, 20, 0.001)

#plot Chi-square distribution with 4 degrees of freedom
plt. plot (x, chi2. pdf (x, df= 4 ))

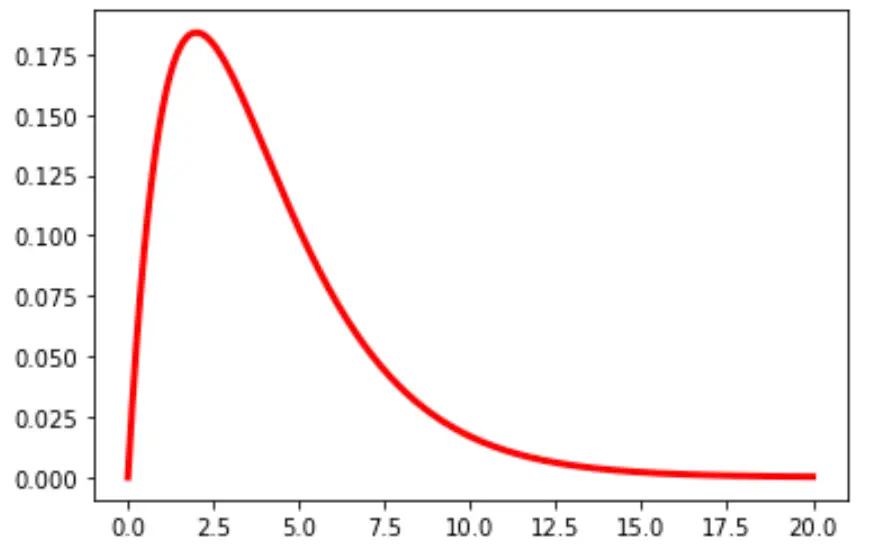
グラフの線の色と幅を変更することもできます。
plt. plot (x, chi2. pdf (x, df= 4 ), color=' red ', linewidth= 3 )

例 2: 複数のカイ二乗分布のプロット
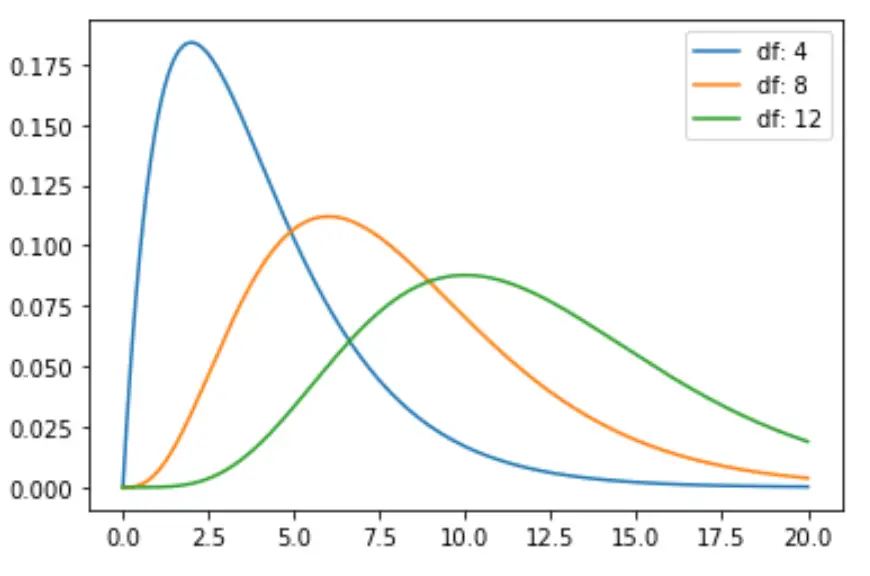
次のコードは、異なる自由度で複数のカイ二乗分布曲線をプロットする方法を示しています。
 import numpy as np
import matplotlib. pyplot as plt
from scipy. stats import chi2

#x-axis ranges from 0 to 20 with .001 steps
x = np. arange (0, 20, 0.001)

#define multiple Chi-square distributions
plt. plot (x, chi2. pdf (x, df= 4 ), label=' df: 4 ')
plt. plot (x, chi2. pdf (x, df= 8 ), label=' df: 8 ')
plt. plot (x, chi2. pdf (x, df= 12 ), label=' df: 12 ')

#add legend to plot
plt. legend ()

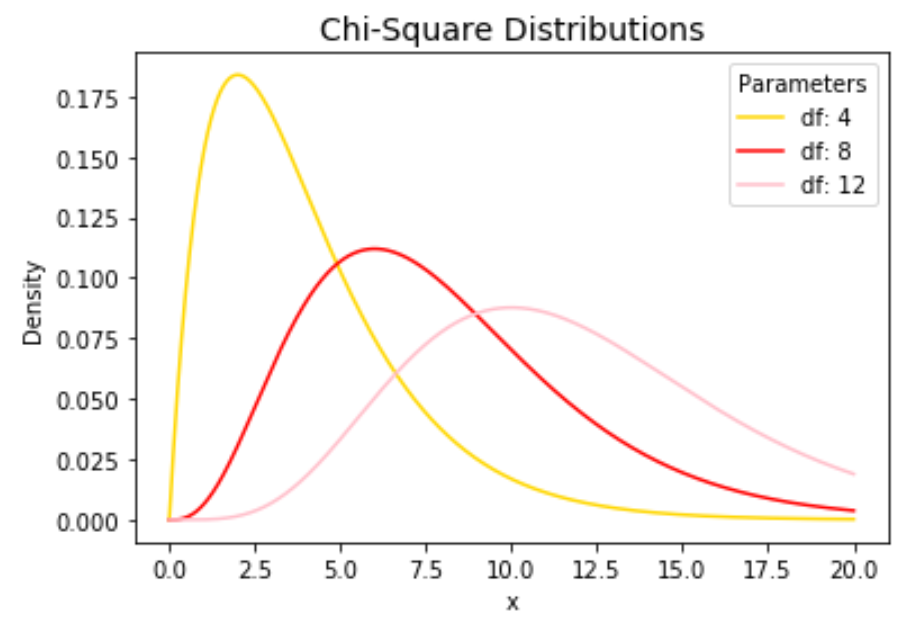
自由に線の色を変更し、タイトルと軸のラベルを追加してグラフを完成させます。
 import numpy as np
import matplotlib. pyplot as plt
from scipy. stats import chi2

#x-axis ranges from 0 to 20 with .001 steps
x = np. arange (0, 20, 0.001)

#define multiple Chi-square distributions
plt. plot (x, chi2. pdf (x, df= 4 ), label=' df: 4 ', color=' gold ')
plt. plot (x, chi2. pdf (x, df= 8 ), label=' df: 8 ', color=' red ')
plt. plot (x, chi2. pdf (x, df= 12 ), label=' df: 12 ', color=' pink ')

#add legend to plot
plt. legend (title=' Parameters ')

#add axes labels and a title
plt. ylabel (' Density ')
plt. xlabel (' x ')
plt. title (' Chi-Square Distributions ', fontsize= 14 )

plt.plot()関数の詳細な説明については、 matplotlib のドキュメントを参照してください。