Matplotlib에서 틱 수를 변경하는 방법
다음 구문을 사용하여 Matplotlib의 각 축에 대한 틱 수를 변경할 수 있습니다.
 #specify number of ticks on x-axis
plt. locator_params (axis=' x ', nbins= 4 )

#specify number of ticks on y-axis
plt. locator_params (axis=' y ', nbins= 2 )
nbins 인수는 각 축에 표시할 틱 수를 지정합니다.
다음 예에서는 이 구문을 실제로 사용하는 방법을 보여줍니다.
예 1: 두 축의 눈금 수 지정
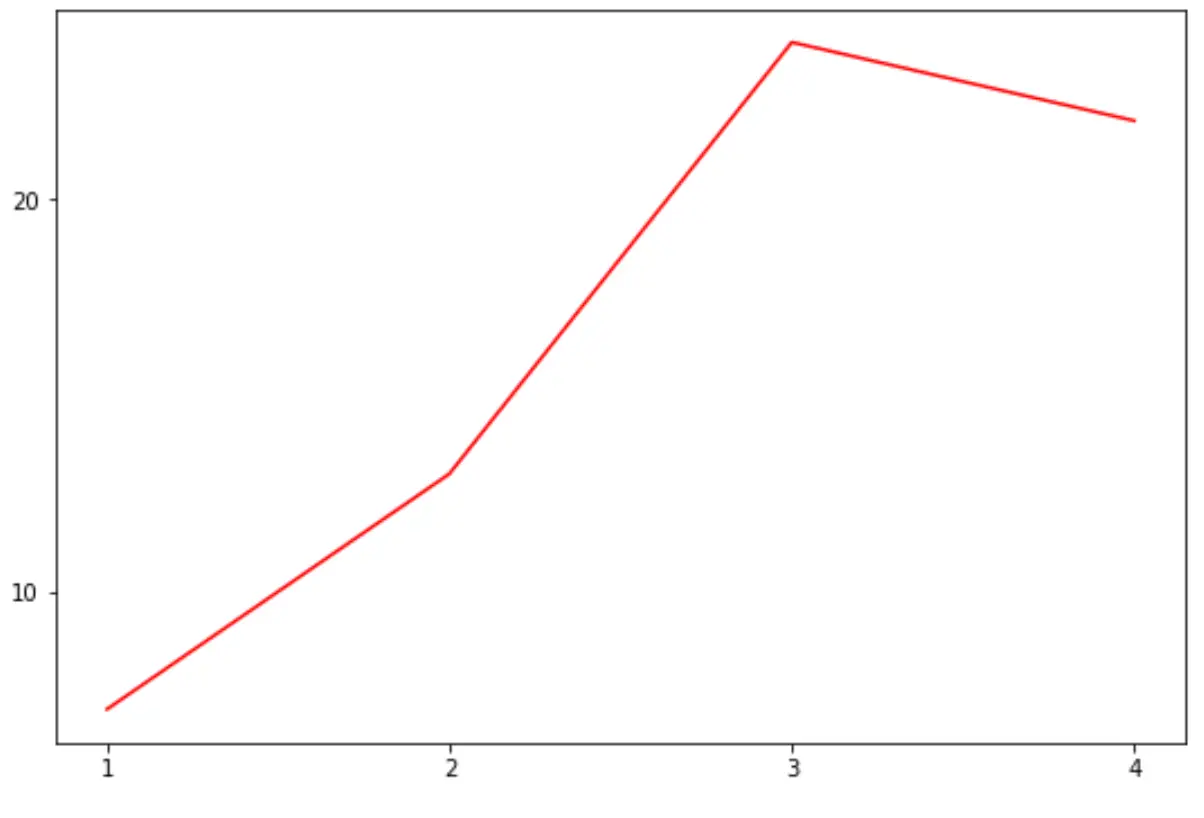
다음 코드는 플롯의 축에 대한 눈금 수를 모두 지정하는 방법을 보여줍니다.
 import matplotlib. pyplot as plt

#define data
x = [1, 2, 3, 4]
y = [7, 13, 24, 22]

#createplot
plt. plot (x,y,color=' red ')

#specify number of ticks on axes
plt. locator_params (axis=' x ', nbins= 4 )
plt. locator_params (axis=' y ', nbins= 2 )

예 2: X축의 눈금 개수만 지정
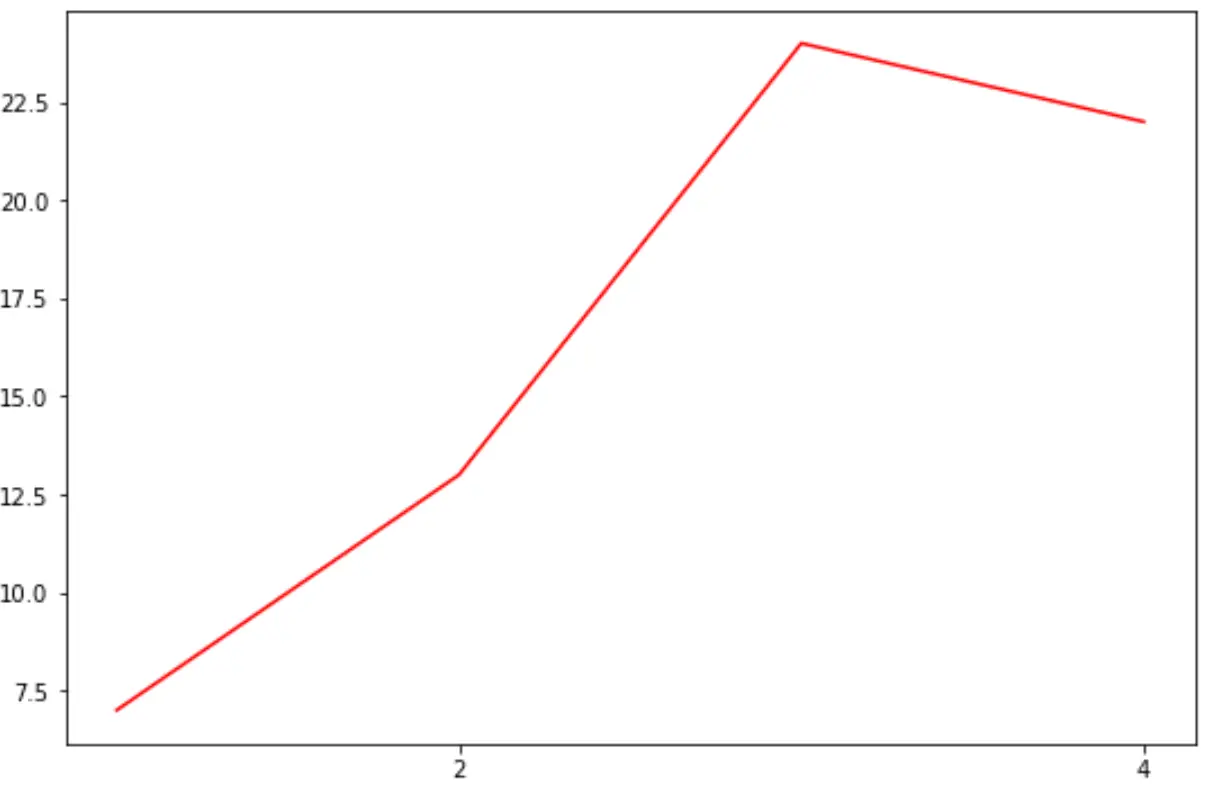
다음 코드는 X축에만 눈금 수를 지정하는 방법을 보여줍니다.
 import matplotlib. pyplot as plt

#define data
x = [1, 2, 3, 4]
y = [7, 13, 24, 22]

#createplot
plt. plot (x,y,color=' red ')

#specify number of ticks on x-axis
plt. locator_params (axis=' x ', nbins= 2 )

예 3: Y축의 눈금 개수만 지정
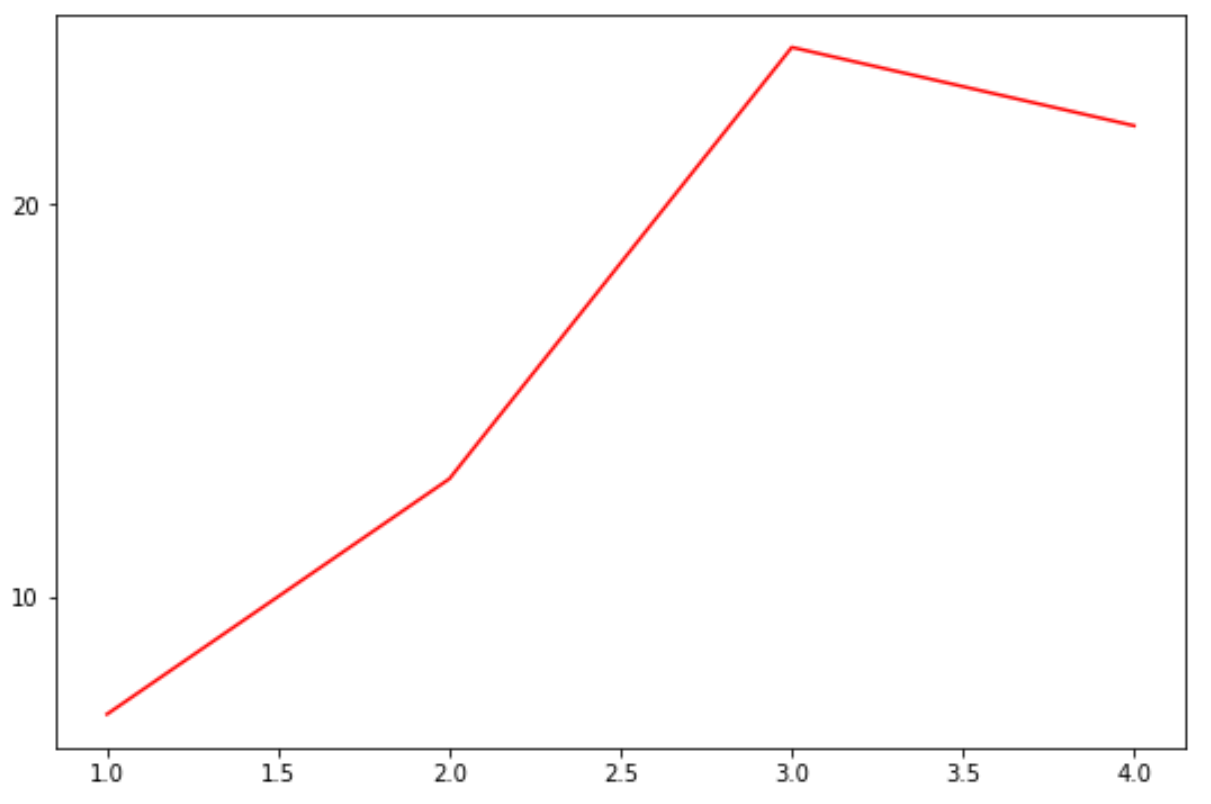
다음 코드는 Y축에만 눈금 수를 지정하는 방법을 보여줍니다.
 import matplotlib. pyplot as plt

#define data
x = [1, 2, 3, 4]
y = [7, 13, 24, 22]

#createplot
plt. plot (x,y,color=' red ')

#specify number of ticks on y-axis
plt. locator_params (axis=' y ', nbins= 2 )

추가 리소스
Matplotlib 플롯에서 진드기를 제거하는 방법
Matplotlib에서 체크 표시 라벨의 글꼴 크기를 설정하는 방법
Matplotlib에서 X축 값을 설정하는 방법
Matplotlib에서 축 범위를 설정하는 방법