วิธีปรับขนาดแผนย่อยใน matplotlib
คุณสามารถใช้ไวยากรณ์ต่อไปนี้เพื่อปรับขนาดของแผนย่อยใน Matplotlib:
 #specify one size for all subplots
fig, ax = plt. subplots (2, 2, figsize=(10,7))

#specify individual sizes for subplots
fig, ax = plt. subplots (1, 2, gridspec_kw={' width_ratios ': [3, 1]})
ตัวอย่างต่อไปนี้แสดงวิธีใช้ไวยากรณ์นี้ในทางปฏิบัติ
ตัวอย่างที่ 1: ระบุขนาดสำหรับแผนย่อยทั้งหมด
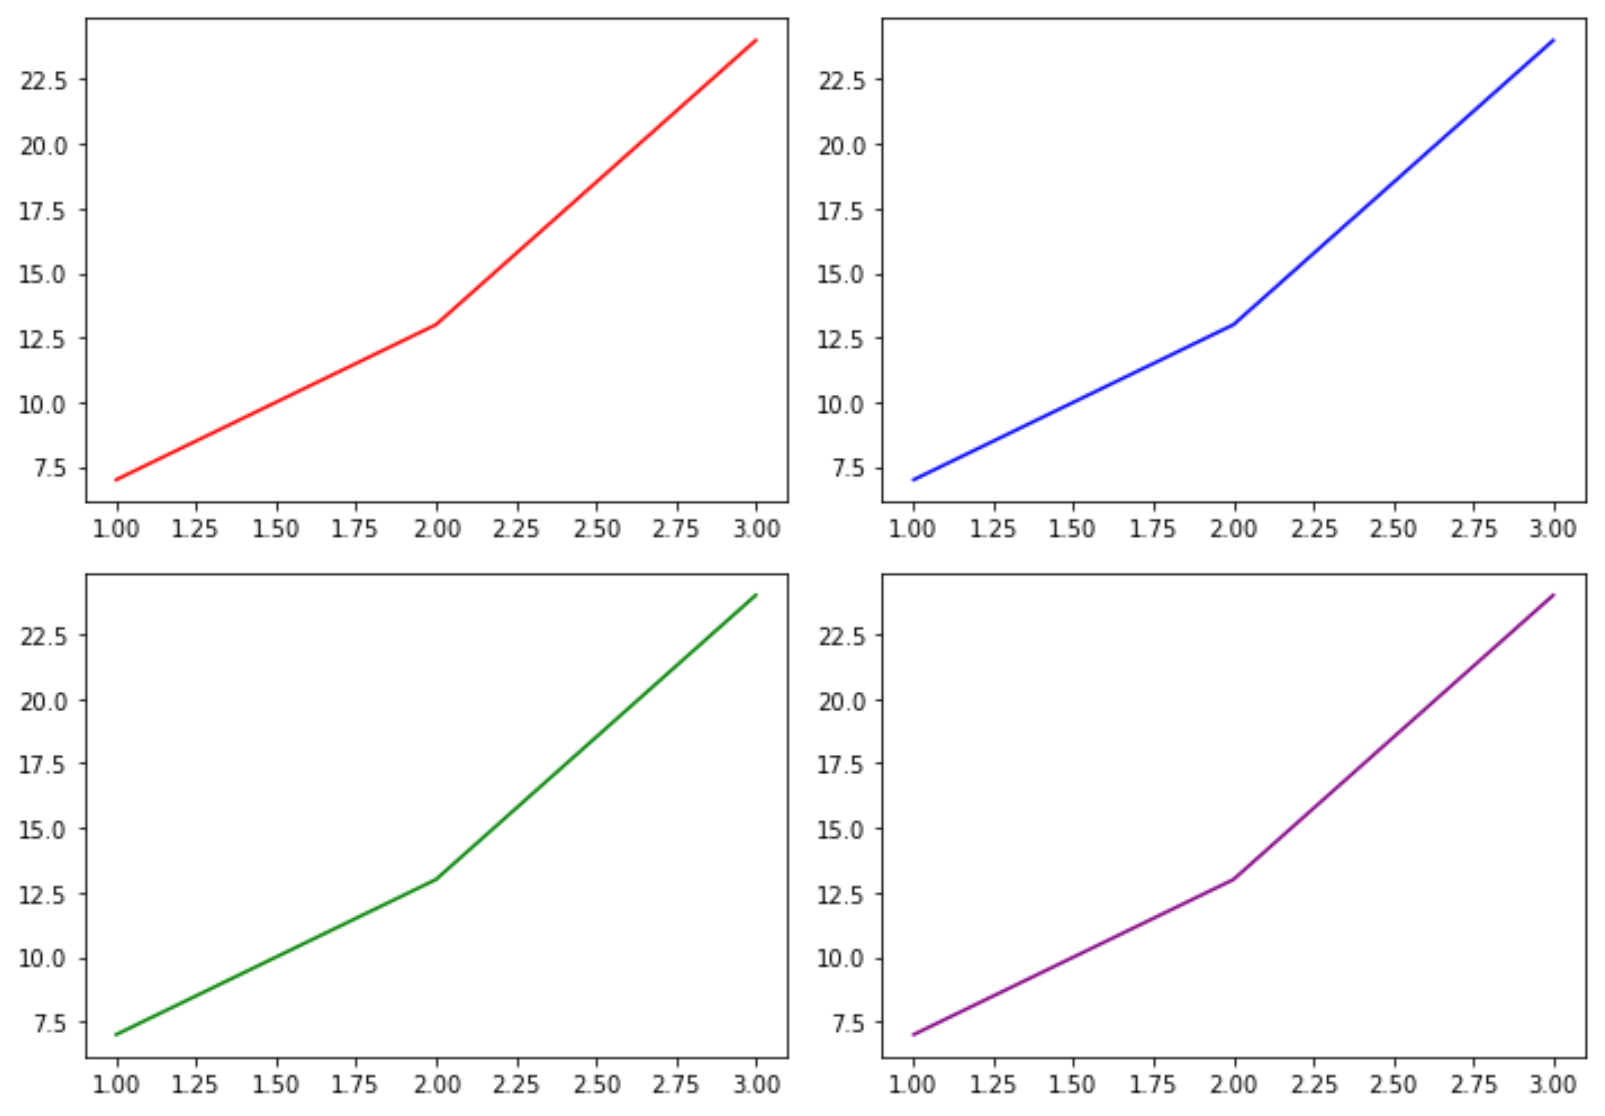
รหัสต่อไปนี้แสดงวิธีการระบุขนาดสำหรับแผนย่อยทั้งหมด:
 import matplotlib. pyplot as plt

#define subplots
fig, ax = plt. subplots (2, 2, figsize=(10,7))
fig. tight_layout ()

#define data
x = [1, 2, 3]
y = [7, 13, 24]

#create subplots
ax[0, 0]. plot (x,y,color=' red ')
ax[0, 1]. plot (x,y,color=' blue ')
ax[1, 0]. plot (x,y,color=' green ')
ax[1, 1]. plot (x,y,color=' purple ')

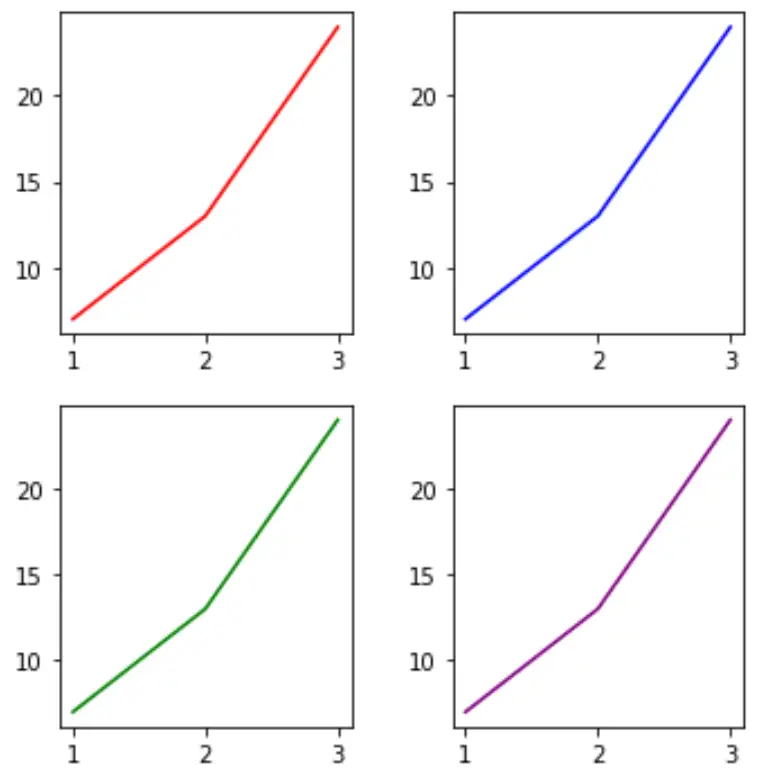
เราสามารถเปลี่ยนขนาดของการลบได้อย่างง่ายดายโดยการเปลี่ยนค่าของอาร์กิวเมนต์ figsize :
 import matplotlib. pyplot as plt

#define subplots
fig, ax = plt. subplots (2, 2, figsize=(5,5))
fig. tight_layout ()

#define data
x = [1, 2, 3]
y = [7, 13, 24]

#create subplots
ax[0, 0]. plot (x,y,color=' red ')
ax[0, 1]. plot (x,y,color=' blue ')
ax[1, 0]. plot (x,y,color=' green ')
ax[1, 1]. plot (x,y,color=' purple ')

ตัวอย่างที่ 2: ระบุขนาดของ แผนย่อย แต่ละรายการ
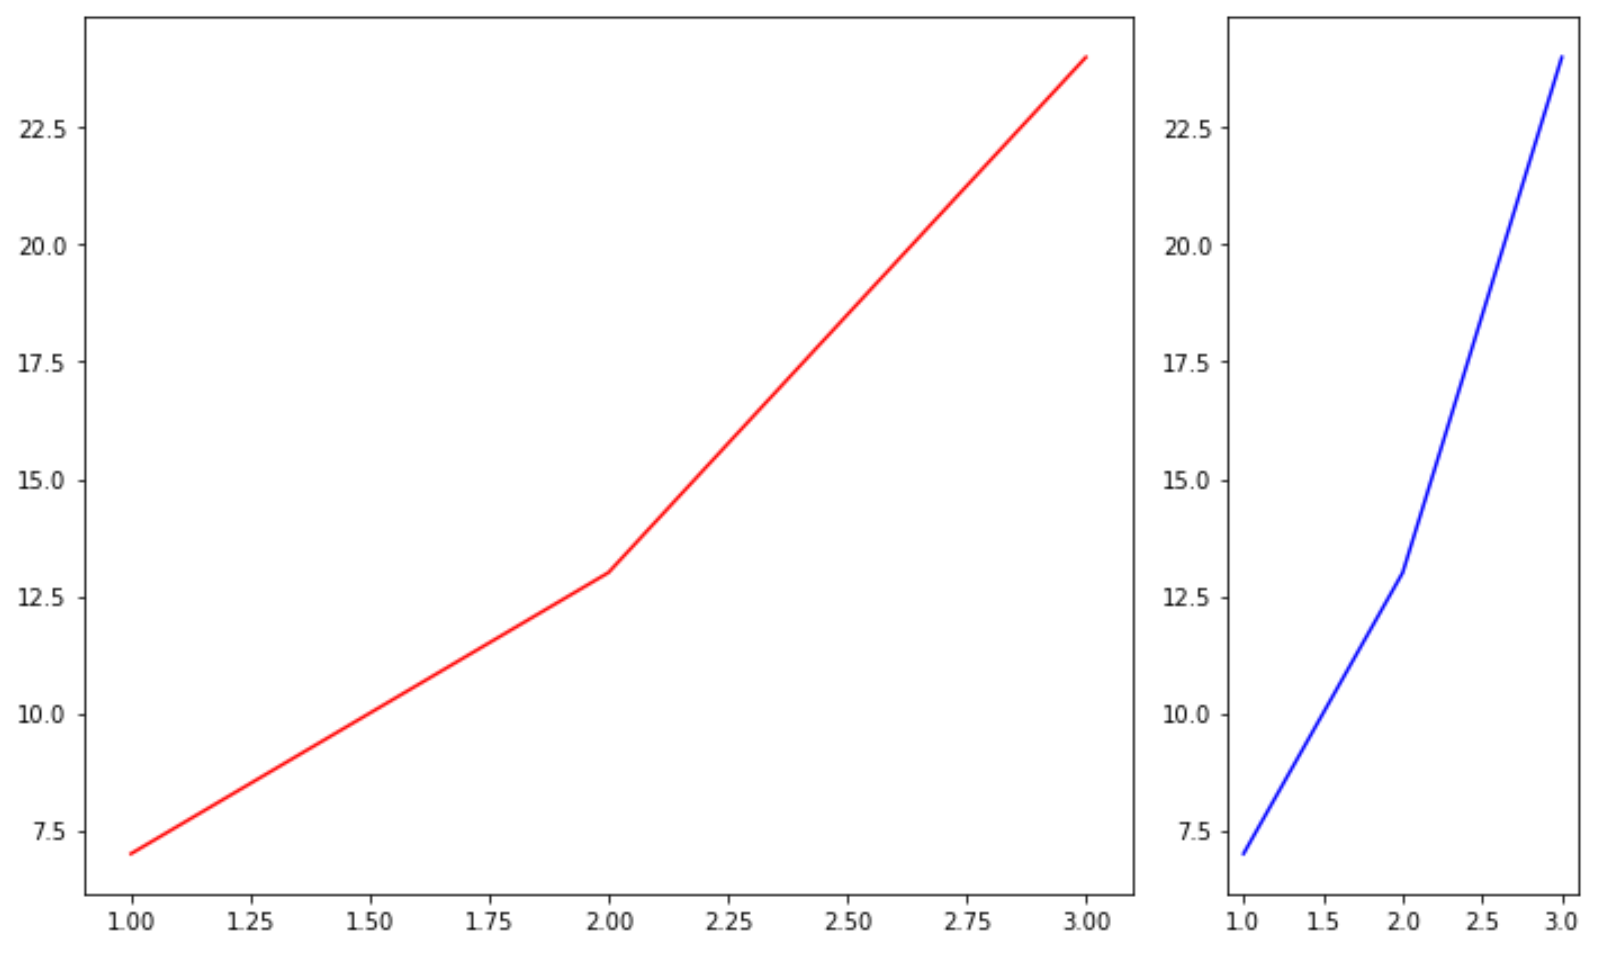
รหัสต่อไปนี้แสดงวิธีการระบุขนาดที่แตกต่างกันสำหรับแต่ละแผนย่อย:
 import matplotlib. pyplot as plt

#define subplots
fig, ax = plt. subplots (1, 2, gridspec_kw={' width_ratios ': [3, 1]})
fig. tight_layout ()

#define data
x = [1, 2, 3]
y = [7, 13, 24]

#create subplots
ax[0]. plot (x,y,color=' red ')
ax[1]. plot (x,y,color=' blue ')

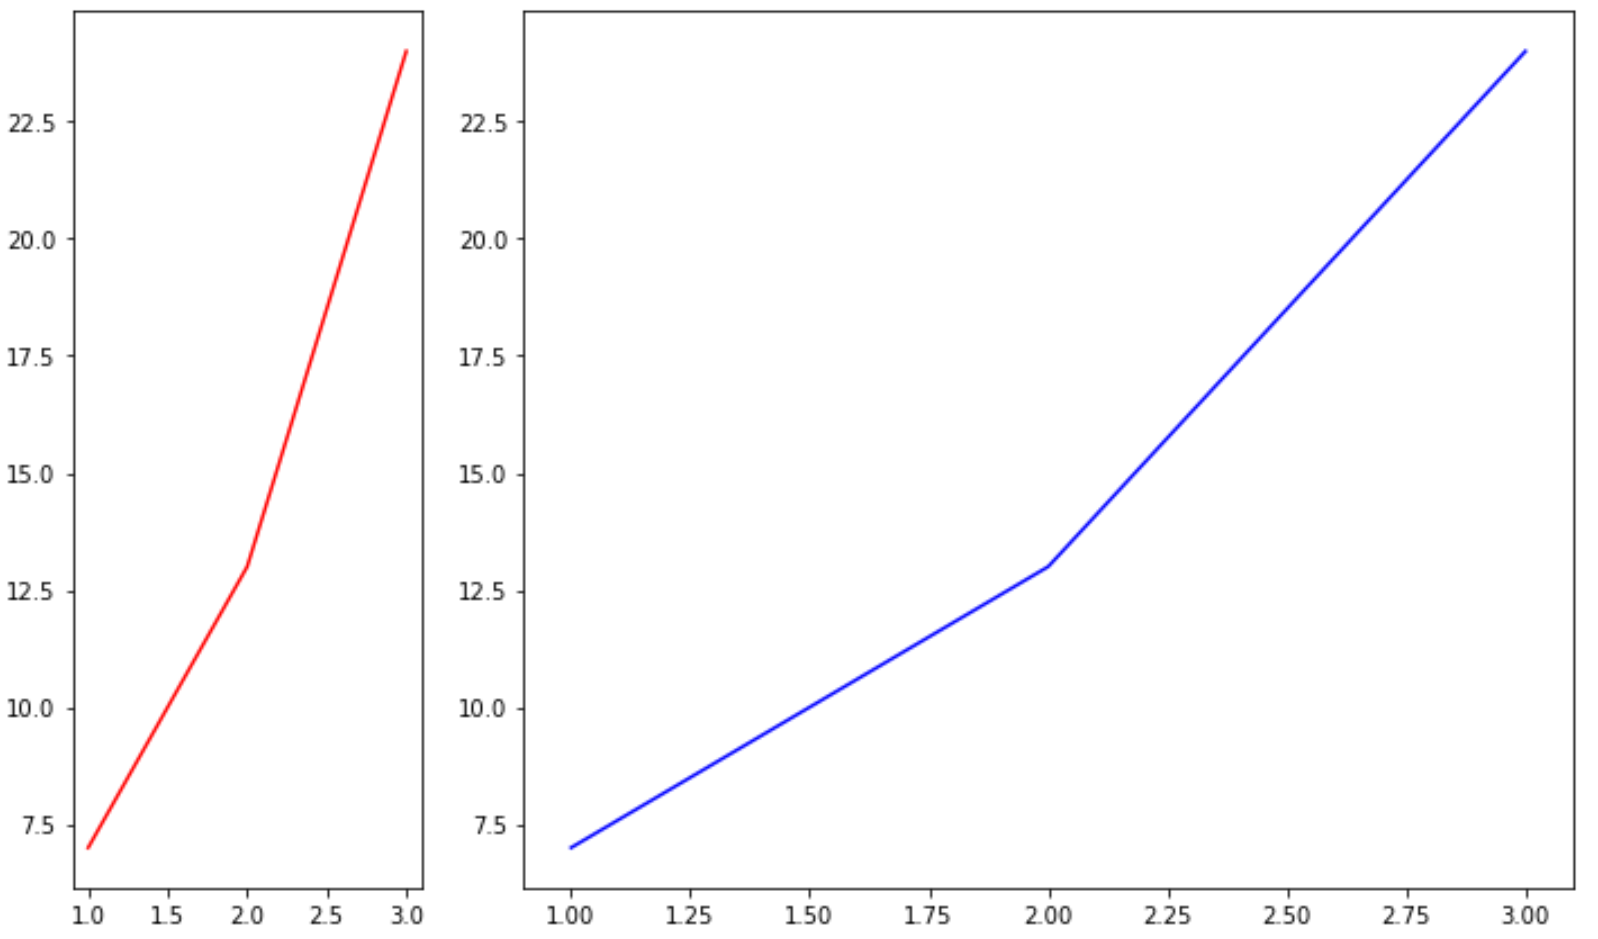
เราสามารถเปลี่ยนขนาดของการลบได้อย่างง่ายดายโดยการเปลี่ยนค่าในอาร์กิวเมนต์ width_ratios :
 import matplotlib. pyplot as plt

#define subplots
fig, ax = plt. subplots (1, 2, gridspec_kw={' width_ratios ': [1, 3]})
fig. tight_layout ()

#define data
x = [1, 2, 3]
y = [7, 13, 24]

#create subplots
ax[0]. plot (x,y,color=' red ')
ax[1]. plot (x,y,color=' blue ')

แหล่งข้อมูลเพิ่มเติม
วิธีเพิ่มชื่อเรื่องให้กับแปลงใน Matplotlib
วิธีการตั้งค่าช่วงแกนใน Matplotlib
วิธีการตั้งค่าแกน X ใน Matplotlib