วิธีใช้ hjust & เพียงย้ายองค์ประกอบใน ggplot2
คุณสามารถใช้อาร์กิวเมนต์ hjust และ vjust เพื่อย้ายองค์ประกอบในแนวนอนและแนวตั้งตามลำดับใน ggplot2
ตัวอย่างต่อไปนี้แสดงวิธีใช้ hjust และ vjust ในสถานการณ์ที่แตกต่างกัน
ตัวอย่างที่ 1: ย้ายตำแหน่งหัวเรื่องใน ggplot2
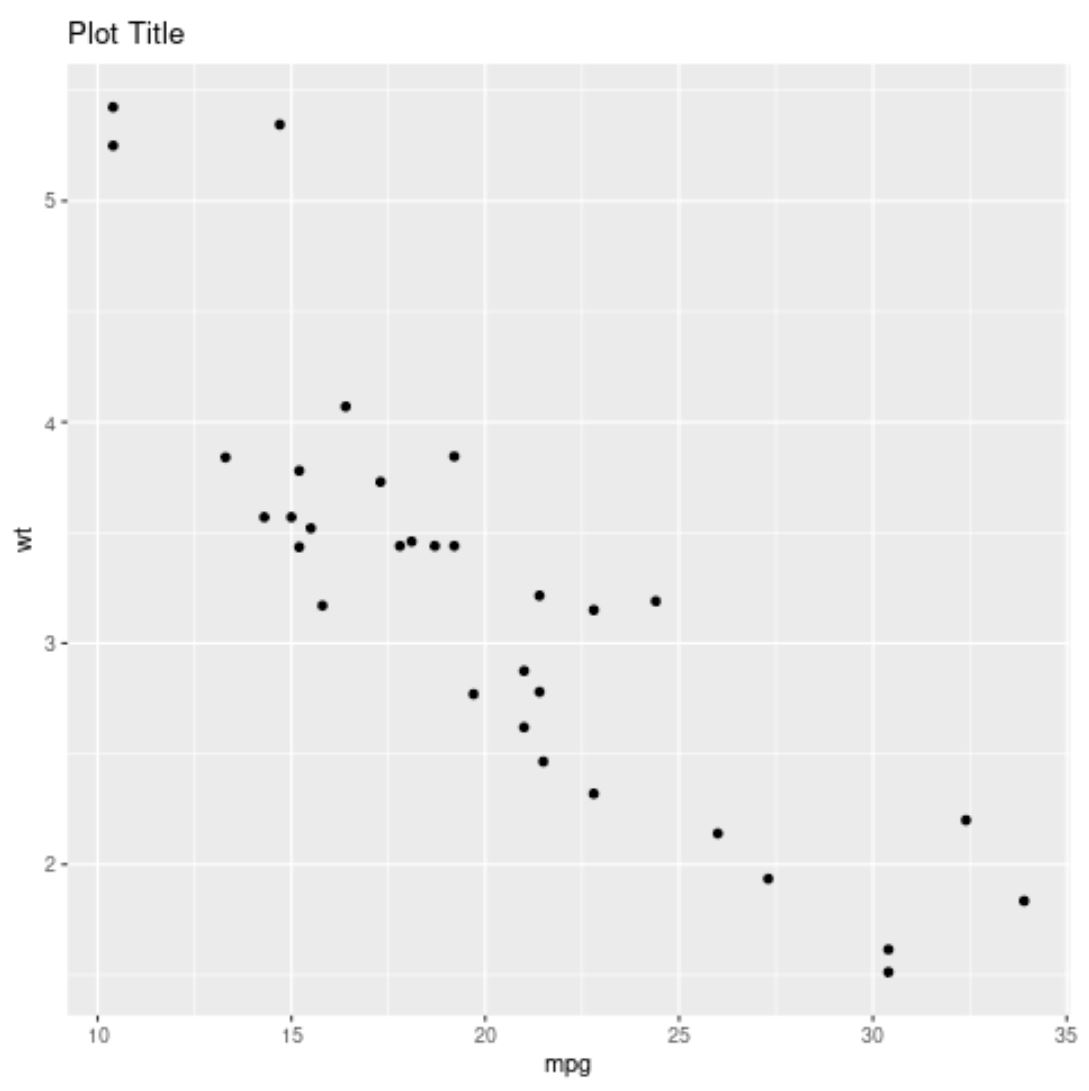
รหัสต่อไปนี้แสดงวิธีสร้าง Scatterplot ใน ggplot2 โดยมีชื่ออยู่ในตำแหน่งเริ่มต้น (ชิดซ้าย):
 library (ggplot2)

#create scatter plot with title in default position
ggplot(data=mtcars, aes(x=mpg, y=wt)) +
  geom_point() +
  ggtitle(" Plot Title ")
และรหัสต่อไปนี้แสดงวิธีจัดกึ่งกลางหัวเรื่องโดยใช้ hjust=0.5 :
 library (ggplot2)

#create scatter plot with title center-aligned
ggplot(data=mtcars, aes(x=mpg, y=wt)) +
  geom_point() +
  ggtitle(" Plot Title ") +
  theme(plot. title = element_text(hjust= .5 ))
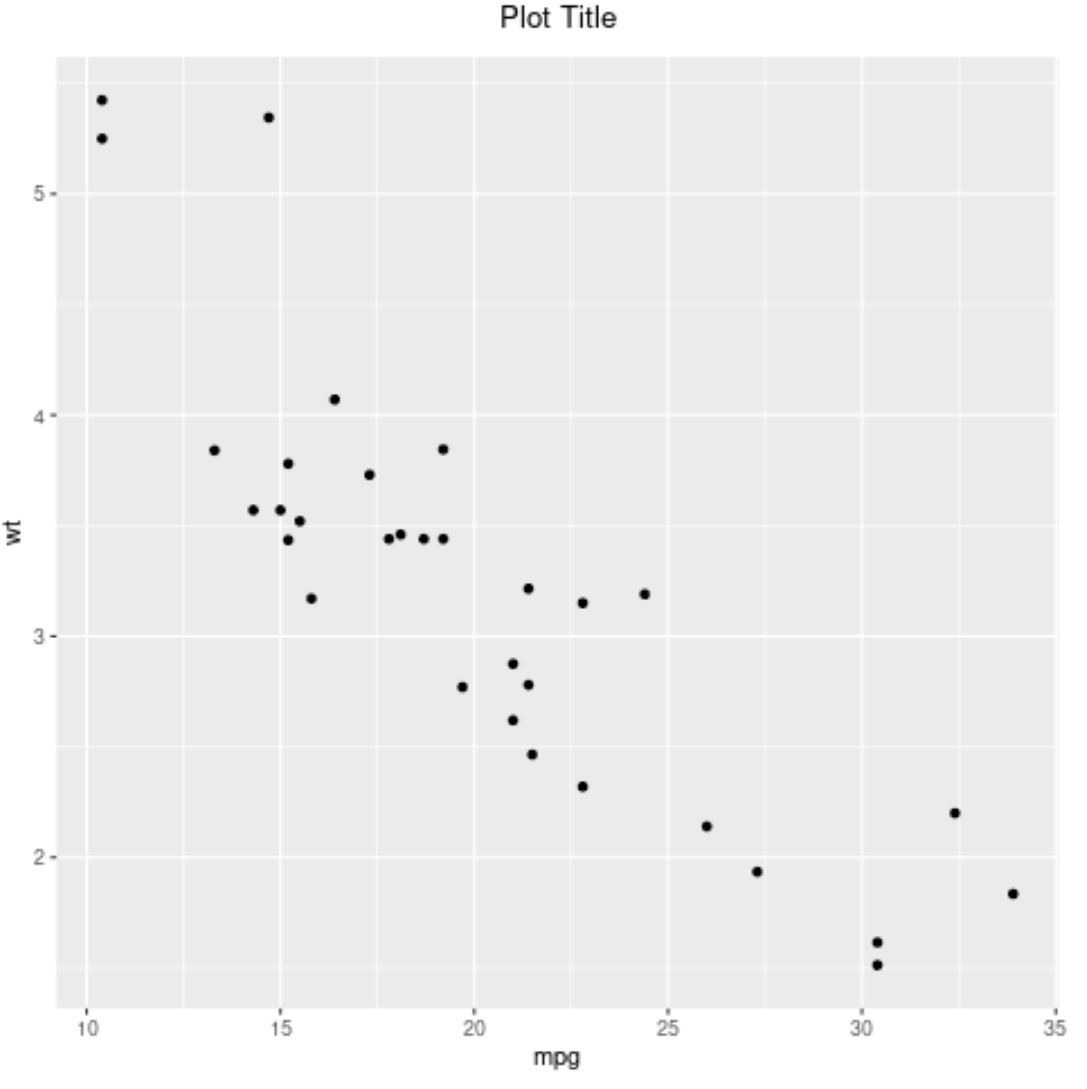
หมายเหตุ : คุณยังสามารถใช้ hjust=1 เพื่อจัดตำแหน่งหัวเรื่องให้ถูกต้องได้
ตัวอย่างที่ 2: ย้ายตำแหน่งป้ายกำกับแกนใน ggplot2
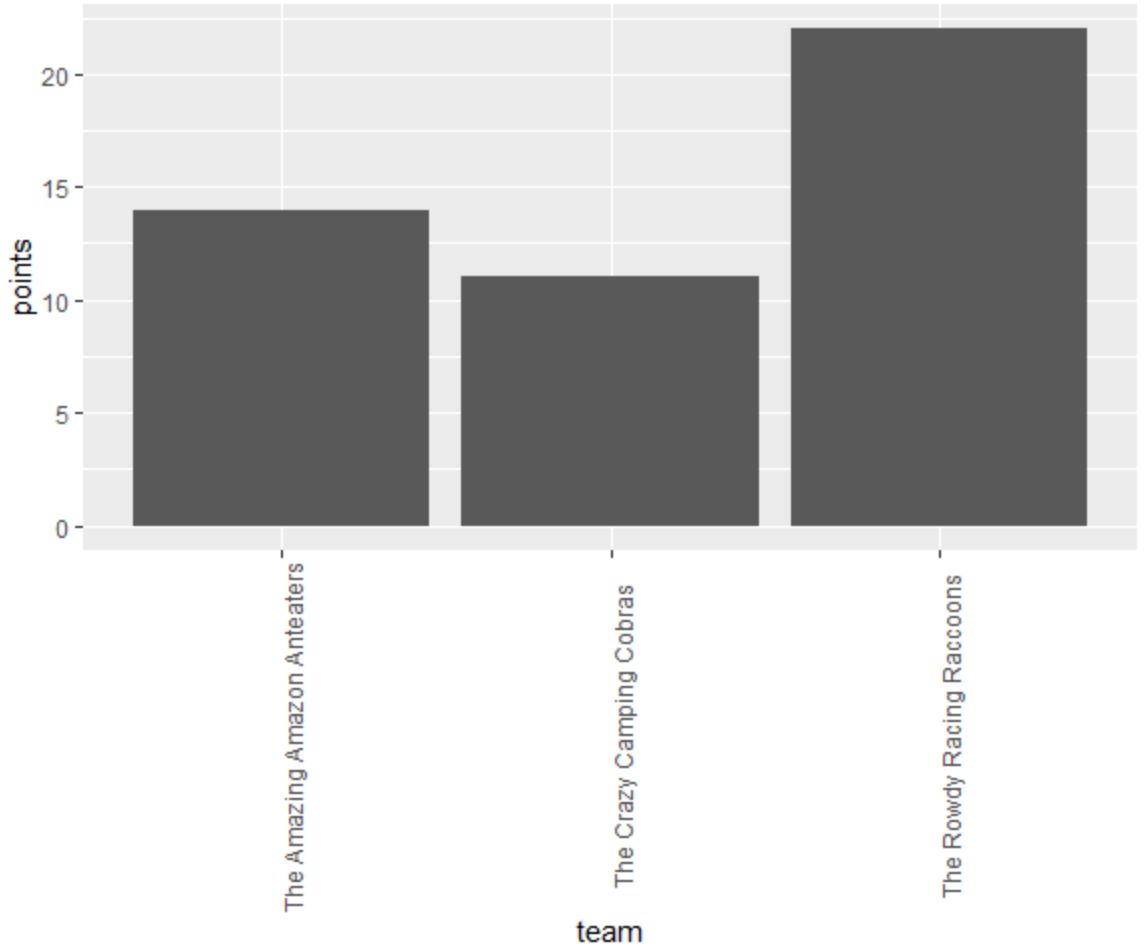
รหัสต่อไปนี้แสดงวิธีสร้างแผนภูมิแท่งใน ggplot2 โดยหมุนป้ายกำกับแกน x 90 องศาเพื่อให้อ่านง่ายขึ้น:
 library (ggplot2)

#create data frame
df = data. frame (team=c('The Amazing Amazon Anteaters',
                       'The Rowdy Racing Raccoons',
                       'The Crazy Camping Cobras'),
                dots=c(14, 22, 11))

#create bar plot to visualize points scored by each team
ggplot(data=df, aes(x=team, y=points)) +
  geom_bar(stat=' identity ') +
  theme(axis. text . x = element_text(angle= 90 ))
เราสามารถใช้อาร์กิวเมนต์ hjust และ vjust เพื่อปรับป้ายกำกับแกน x เพื่อให้ชิดกับเครื่องหมายถูกบนแกน x มากขึ้น:
 library (ggplot2)

#create data frame
df = data. frame (team=c('The Amazing Amazon Anteaters',
                       'The Rowdy Racing Raccoons',
                       'The Crazy Camping Cobras'),
                dots=c(14, 22, 11))

#create bar plot to visualize points scored by each team
ggplot(data=df, aes(x=team, y=points)) +
  geom_bar(stat=' identity ') +
  theme(axis. text . x = element_text(angle= 90 , vjust= .5 , hjust= 1 )

ตัวอย่างที่ 3: ย้ายตำแหน่งข้อความใน ggplot2
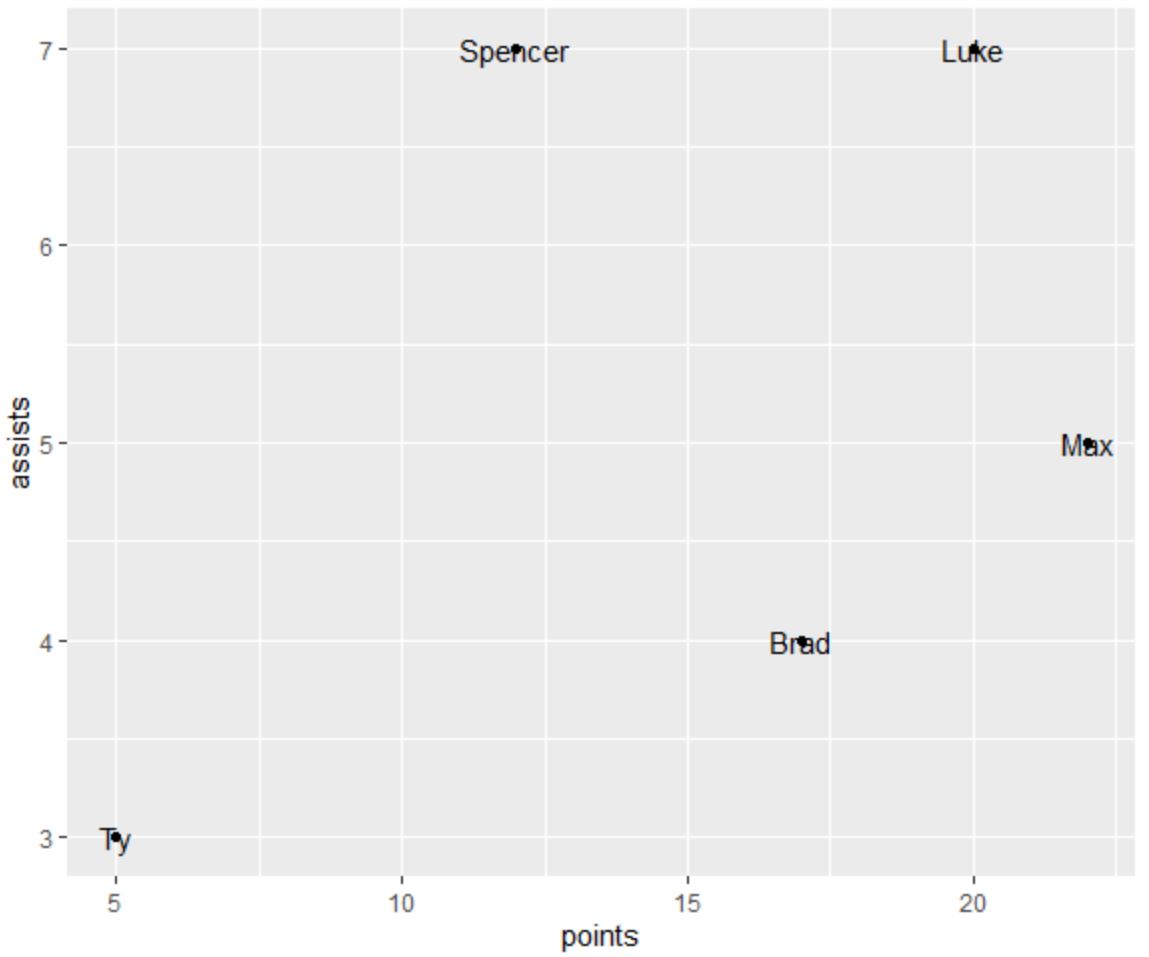
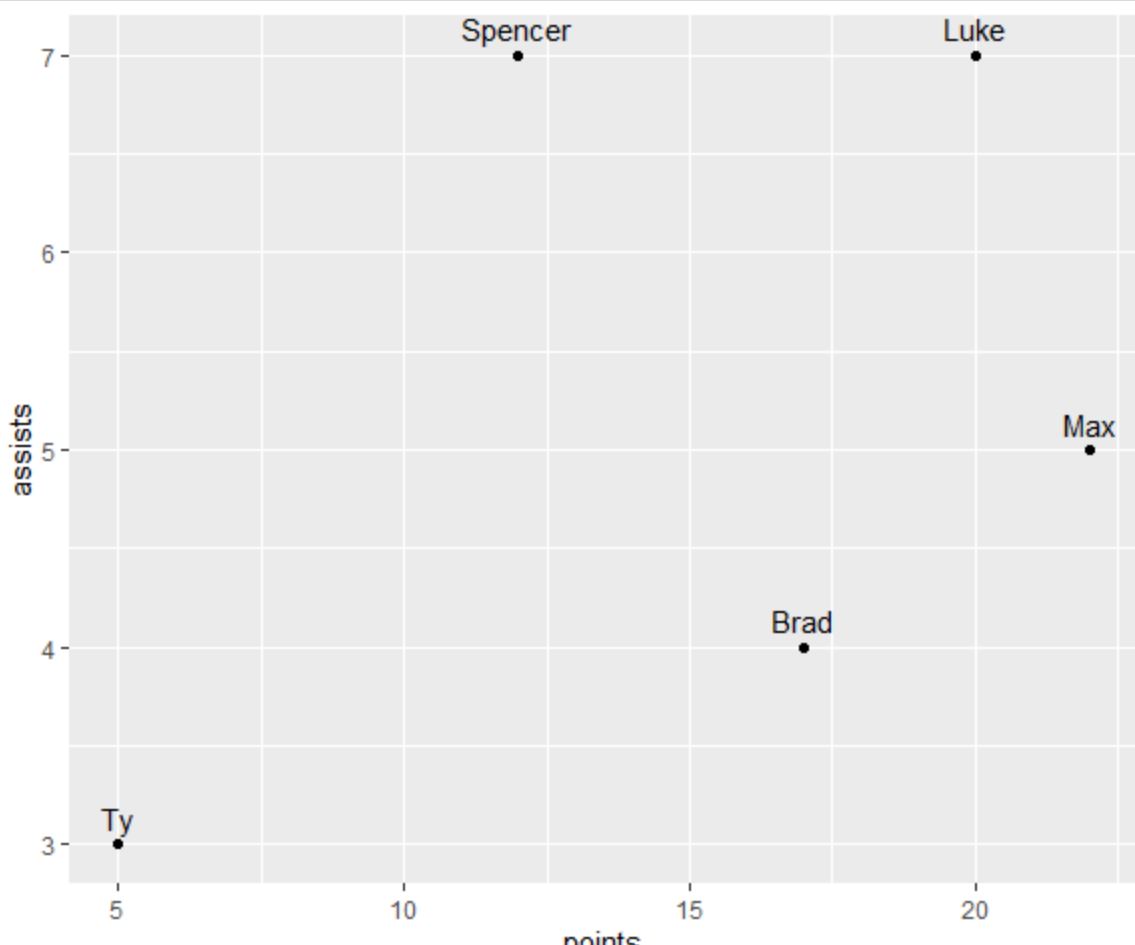
รหัสต่อไปนี้แสดงวิธีสร้าง Scatterplot ใน ggplot2 พร้อมข้อความอธิบายประกอบสำหรับแต่ละจุดในพล็อต:
 library (ggplot2)

#create data frame
df <- data. frame (player=c('Brad', 'Ty', 'Spencer', 'Luke', 'Max'),
                 dots=c(17, 5, 12, 20, 22),
                 assists=c(4, 3, 7, 7, 5))

#create scatter plot with annotated labels
ggplot(df) +
  geom_point(aes(x=points, y=assists)) +
  geom_text(aes(x=points, y=assists, label=player))
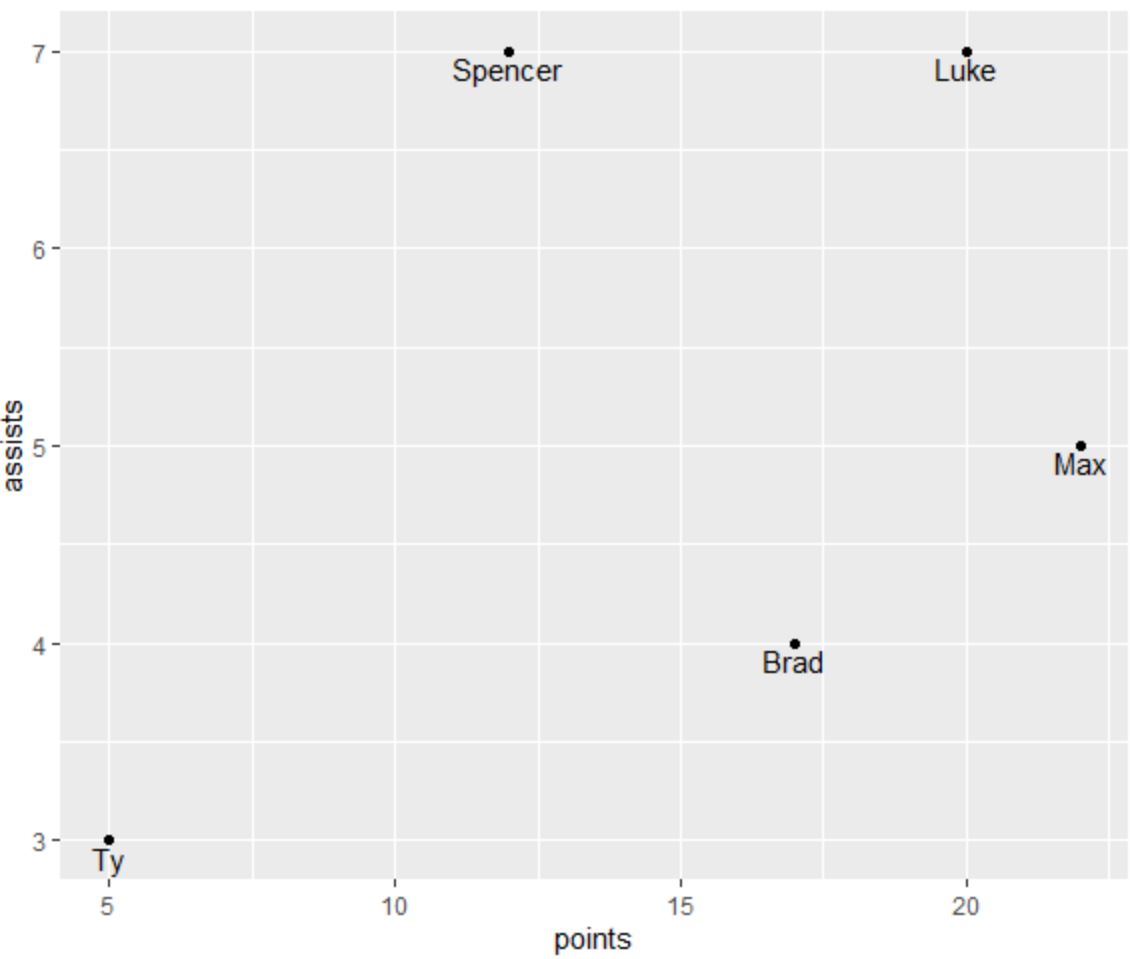
เราสามารถใช้อาร์กิวเมนต์ vjust เพื่อย้ายองค์ประกอบข้อความในแนวตั้งเพื่อให้อ่านง่ายขึ้น:
 library (ggplot2)

#create data frame
df <- data. frame (player=c('Brad', 'Ty', 'Spencer', 'Luke', 'Max'),
                 dots=c(17, 5, 12, 20, 22),
                 assists=c(4, 3, 7, 7, 5))

#create scatter plot with annotated labels
ggplot(df) +
  geom_point(aes(x=points, y=assists)) +
  geom_text(aes(x=points, y=assists, label=player), vjust= -.6 )
นอกจากนี้เรายังสามารถใช้ค่าบวกสำหรับ vjust เพื่อย้ายองค์ประกอบข้อความลงในแนวตั้ง:
 library (ggplot2)

#create data frame
df <- data. frame (player=c('Brad', 'Ty', 'Spencer', 'Luke', 'Max'),
                 dots=c(17, 5, 12, 20, 22),
                 assists=c(4, 3, 7, 7, 5))

#create scatter plot with annotated labels
ggplot(df) +
  geom_point(aes(x=points, y=assists)) +
  geom_text(aes(x=points, y=assists, label=player), vjust= 1.2 )
ขณะนี้ข้อความที่มีคำอธิบายประกอบอยู่ใต้แต่ละจุดบนโครงเรื่อง
แหล่งข้อมูลเพิ่มเติม
บทช่วยสอนต่อไปนี้จะอธิบายวิธีดำเนินการงานทั่วไปอื่นๆ ใน ggplot2:
วิธีเปลี่ยนชื่อคำอธิบายใน ggplot2
วิธีหมุนป้ายกำกับแกนใน ggplot2
วิธีแก้ไขใน R: ไม่พบฟังก์ชัน “ggplot”
เกี่ยวกับผู้แต่ง
ดร.เบนจามิน แอนเดอร์สัน
สวัสดี ฉันชื่อเบนจามิน ศาสตราจารย์สถิติเกษียณอายุแล้ว และผันตัวมาเป็นครูสอนสถิติโดยเฉพาะ ด้วยประสบการณ์และความเชี่ยวชาญที่กว้างขวางในสาขาสถิติ ฉันกระตือรือร้นที่จะแบ่งปันความรู้ของฉันเพื่อเสริมศักยภาพนักเรียนผ่าน Statorials. รู้เพิ่มเติม